Integrate with RAGFlow
RAGFlow can integrate with GPUStack to leverage locally deployed LLMs, vision models, embeddings, reranking, Speech-to-Text and Text-to-Speech capabilities. RAGFlow discovers the models running in GPUStack, so you connect once and choose which ones to add.
Note
This guide requires a RAGFlow version later than v1.0.0-rc3, which adds the GPUStack setup card.
Deploying Models
-
In GPUStack UI, navigate to the
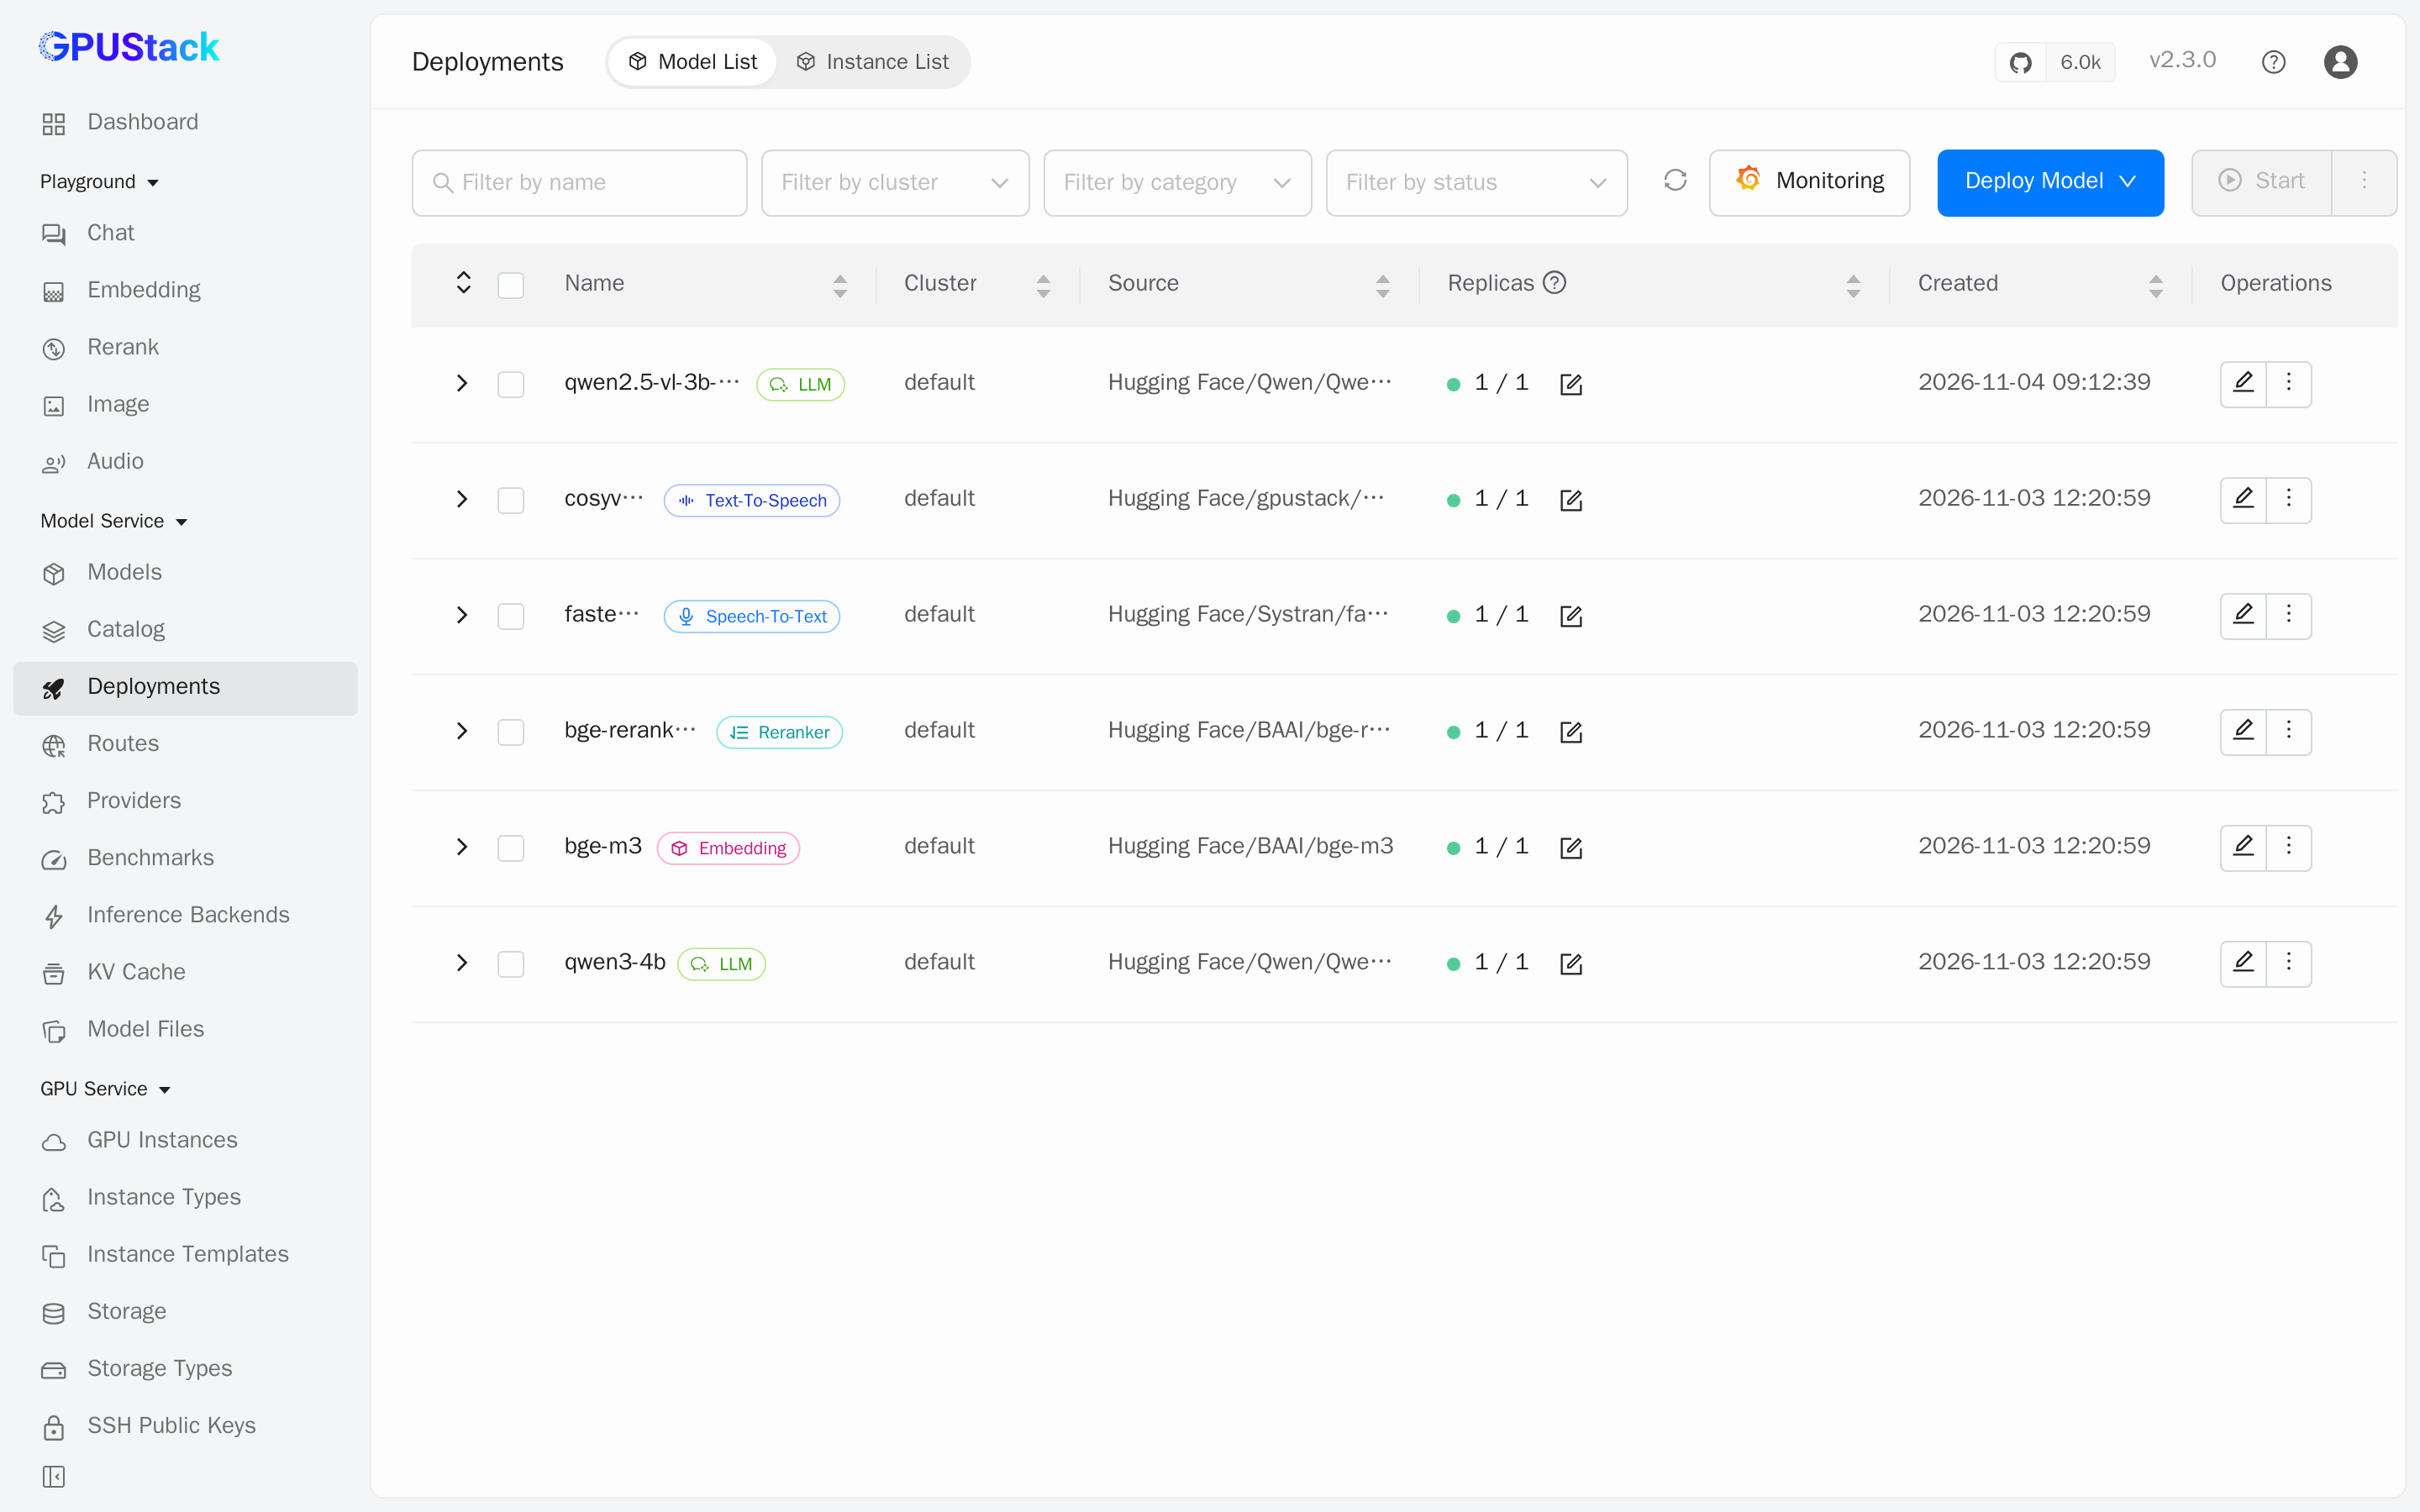
Deploymentspage and click onDeploy Modelto deploy the models you need. KeepEnable Model Routeselected, because RAGFlow only discovers models that are running and have a route. Here are some example models:Model Used in RAGFlow as qwen3-4bChat qwen2.5-vl-3b-instructChat + Vision bge-m3Embedding bge-reranker-v2-m3Rerank faster-whisper-smallSpeech to text cosyvoice2-0.5bText to speech -
Wait until each model shows its replicas as ready:
Create an API Key
-
Navigate to the
Access Control>API Keyspage, then click onAdd API Key. -
Fill in the name and keep
Model Accessselected withAll modelsunderAccess Permissions. The defaultExpirationis1 month, so choose a longer period if RAGFlow will keep using this key. Then clickSave.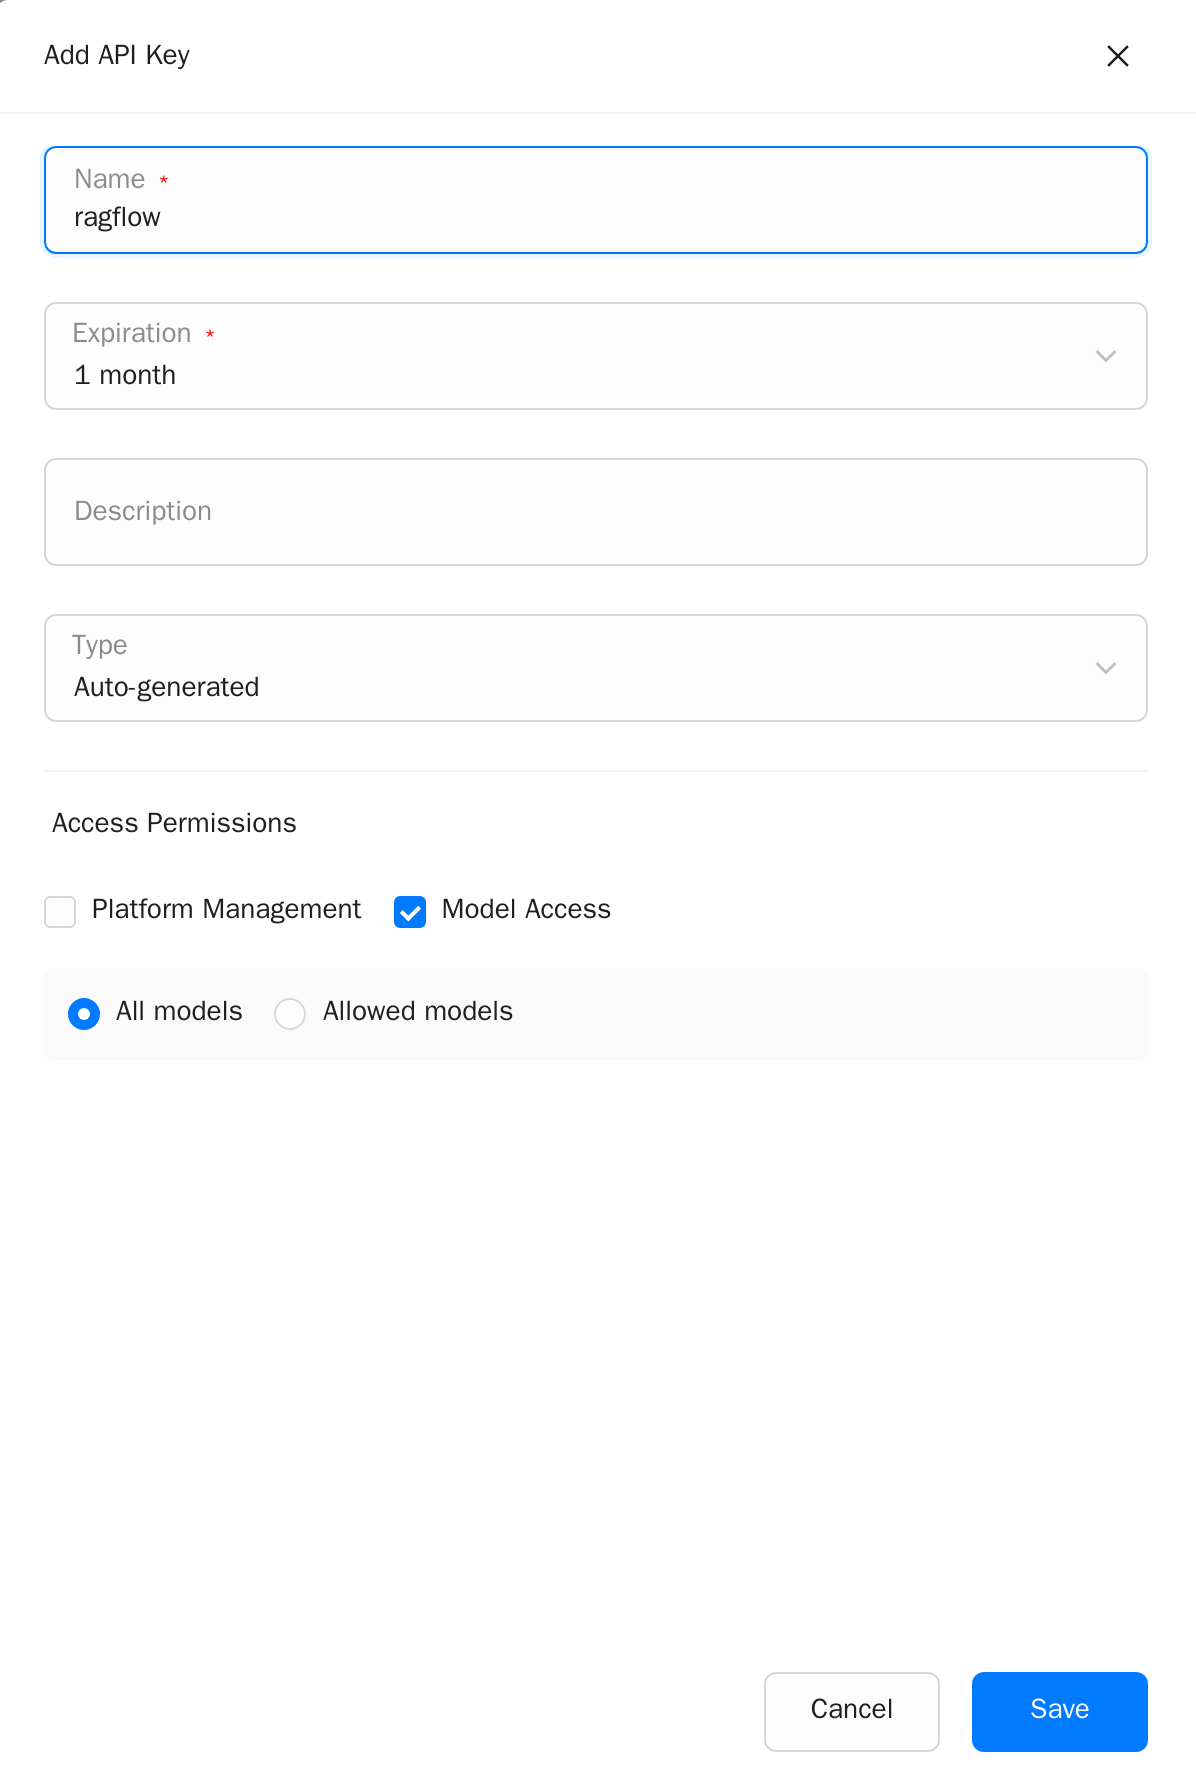
-
Copy the API key and save it for later use. The
API Keyspage only shows a masked value afterwards.
Integrating GPUStack into RAGFlow
-
Access the RAGFlow UI, click the avatar in the top right corner to open
Model providers, then selectGPUStackunderAvailable models. -
Fill in the following fields, then click
Connect:- Instance name: Any name that identifies this GPUStack server in RAGFlow, for example
gpustack. - GPUStack server URL:
http://your-gpustack-url, without the/v1path. Include the port if you use a custom one. Do not uselocalhost, as it refers to the RAGFlow container. If GPUStack runs on the same host as RAGFlow, you can usehttp://host.docker.internal:<port>. - API key: The API key you copied in the previous steps.
- Instance name: Any name that identifies this GPUStack server in RAGFlow, for example
-
RAGFlow lists the running models, grouped by type and with their context length. Clear the checkbox of any model you do not want to add. GPUStack does not report whether a model accepts images, so set vision models such as
qwen2.5-vl-3b-instructtoChat + Vision: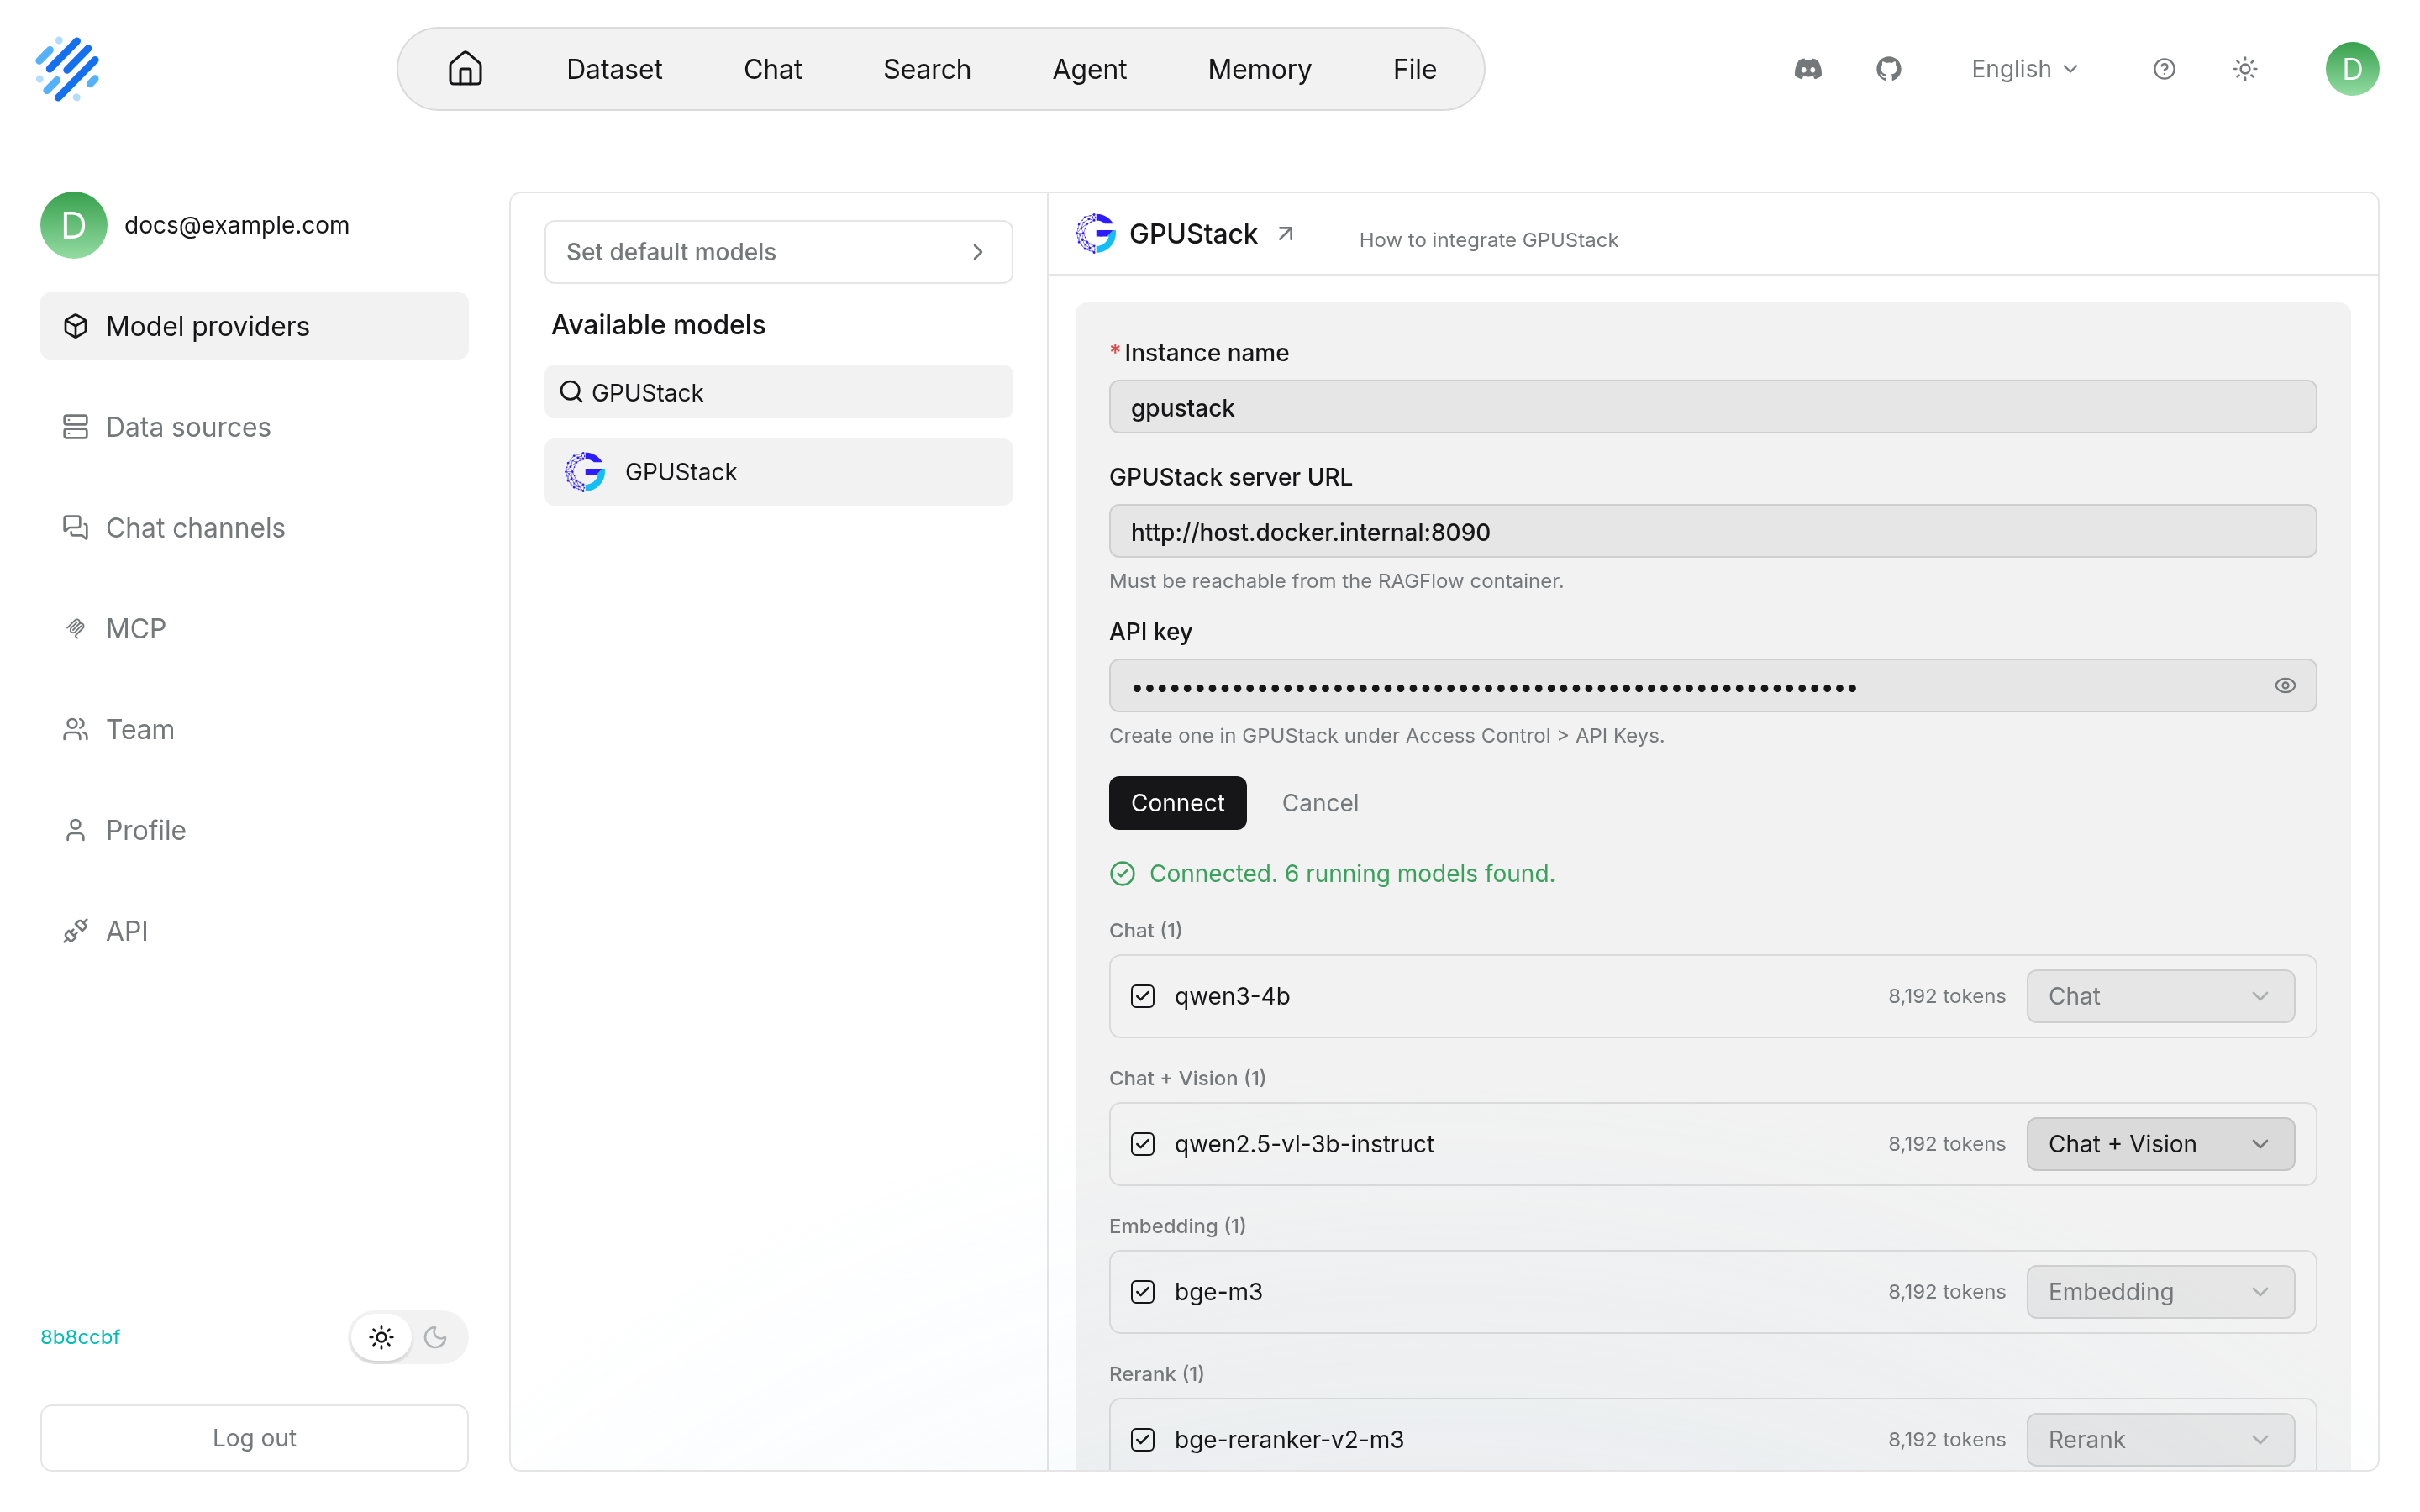
If the connection fails, RAGFlow shows the reason below the form:
GPUStack rejected this API key.: Check the API key underAccess Control>API Keys.-
Cannot reach this server from RAGFlow.: Check the URL and port from inside the RAGFlow container. For example, run the following command in the RAGFlowdockerdirectory, which should return"ok":
-
Click
Add 6 modelsat the bottom of the list (the number follows your selection). The added models appear in the instance: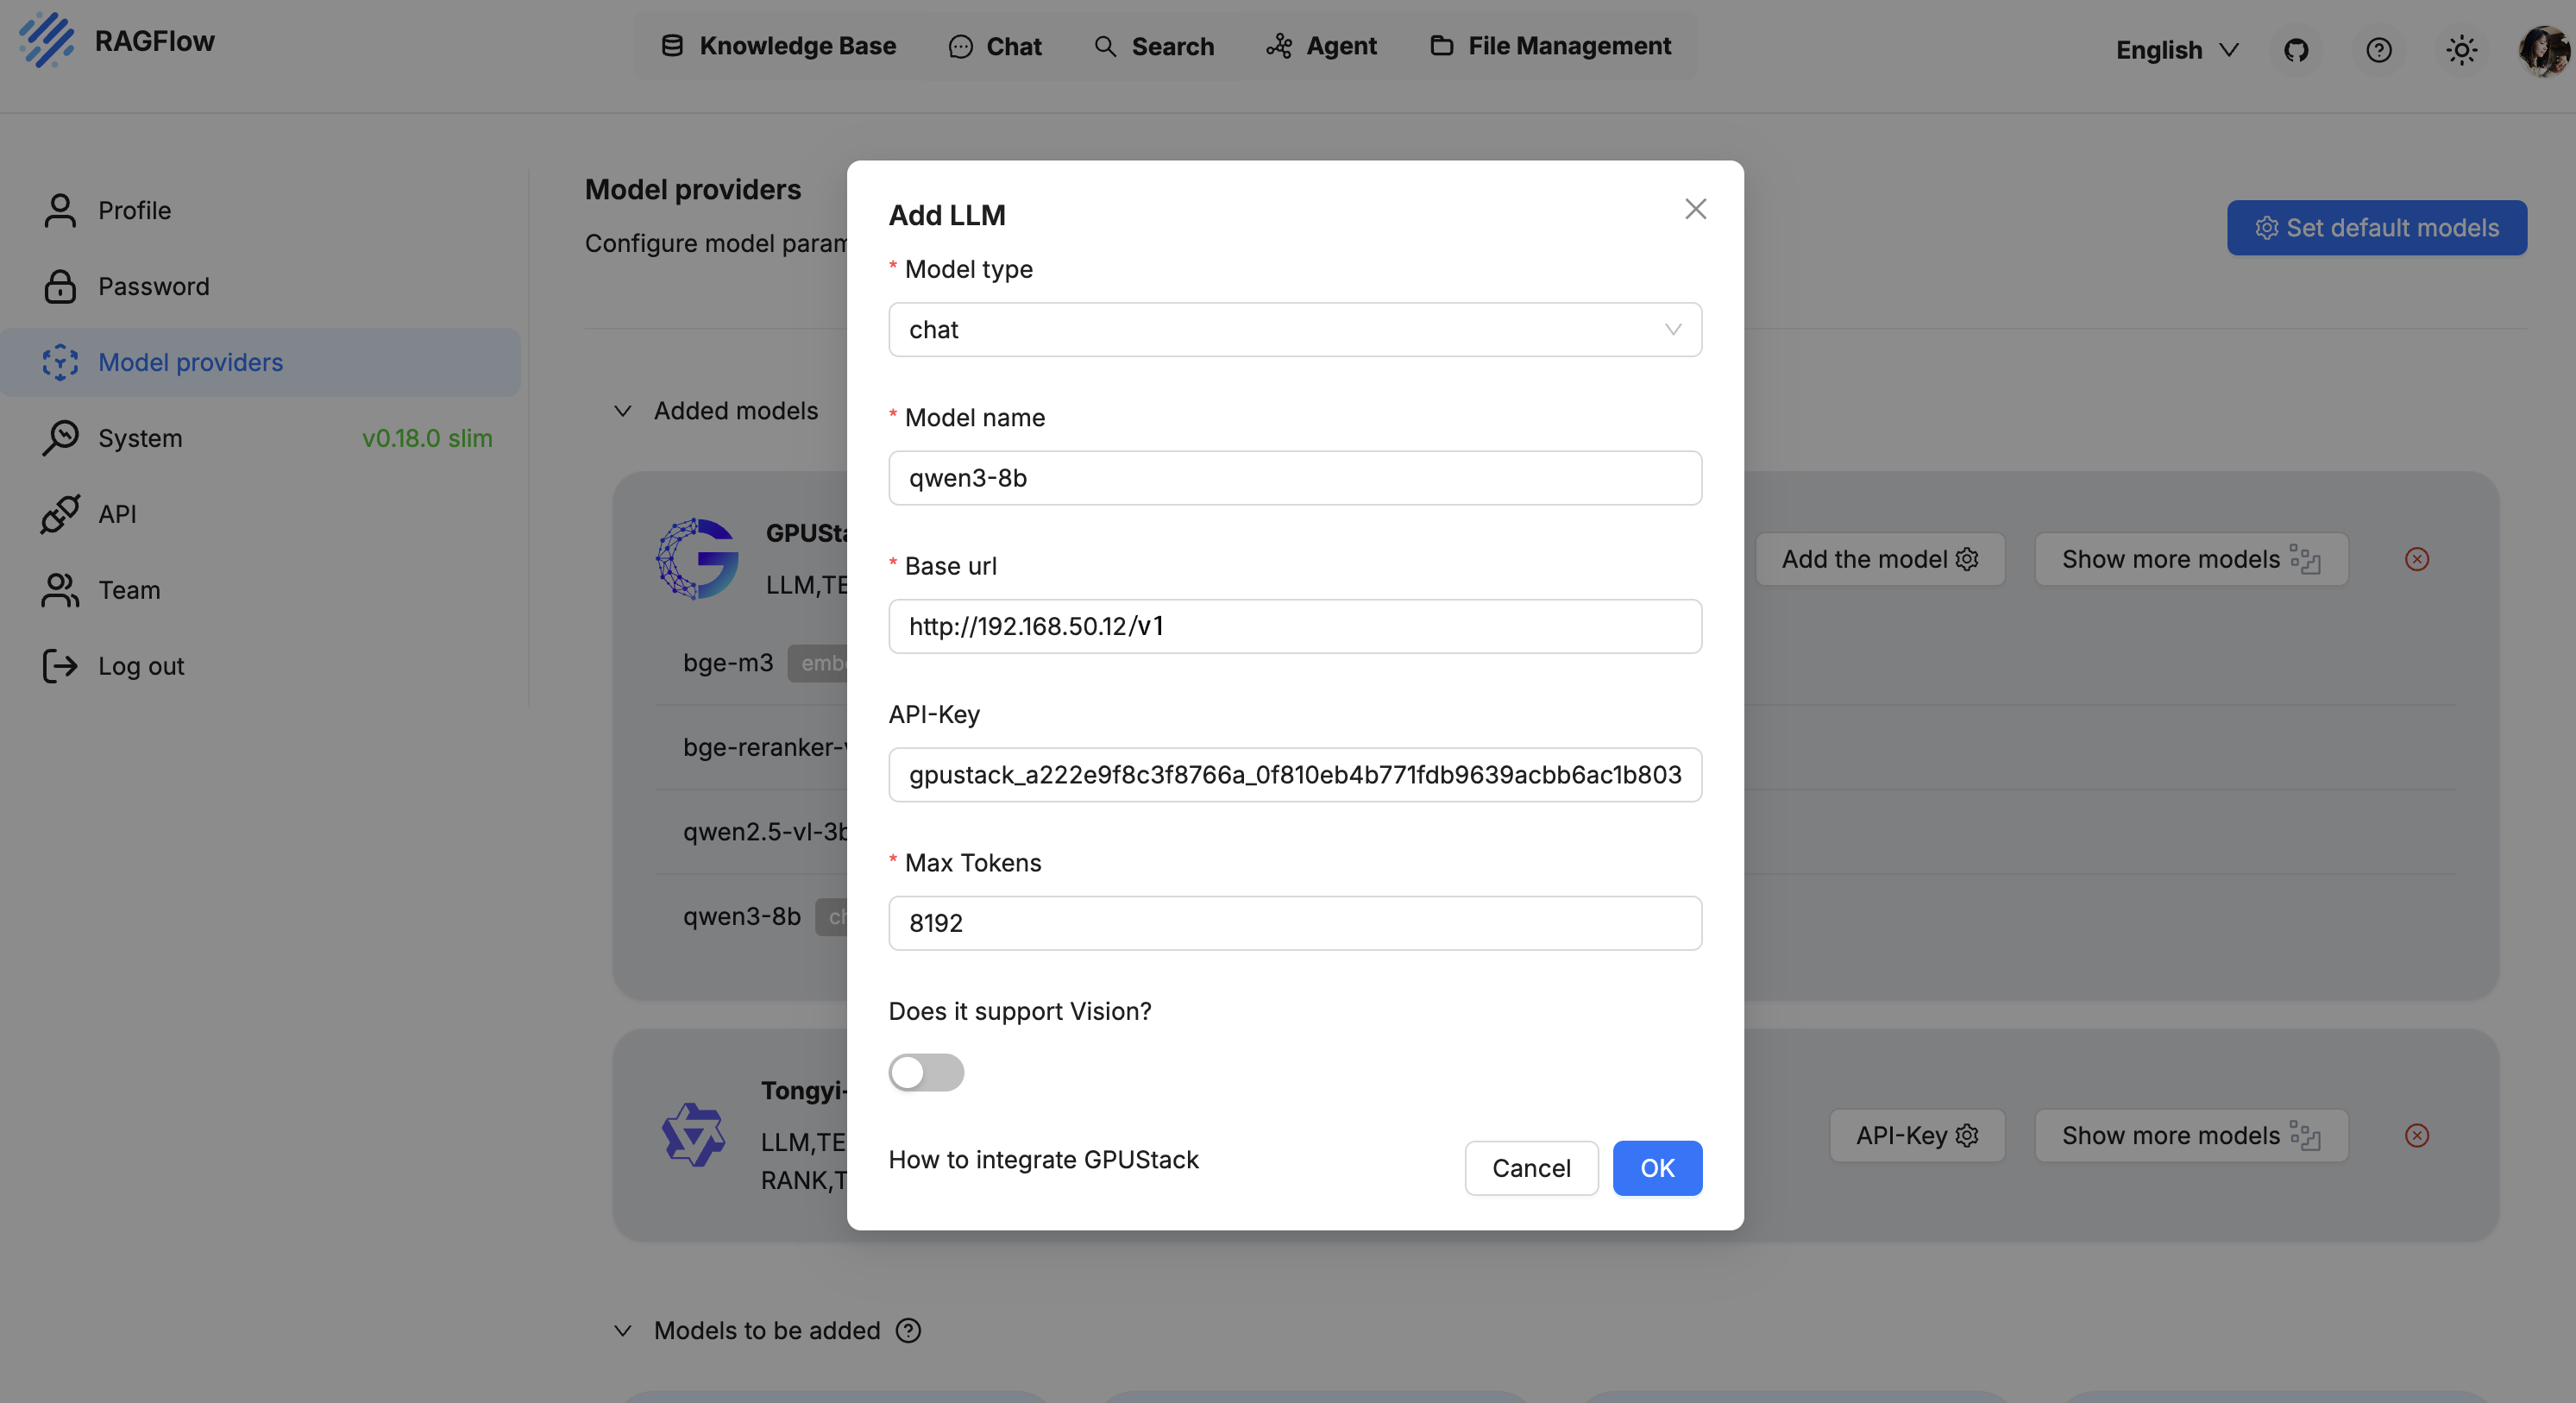
If you deploy more models in GPUStack later, click
Refreshon the instance to discover and add them. -
Click
Set default modelsand select a model for each type. Each selection is saved immediately: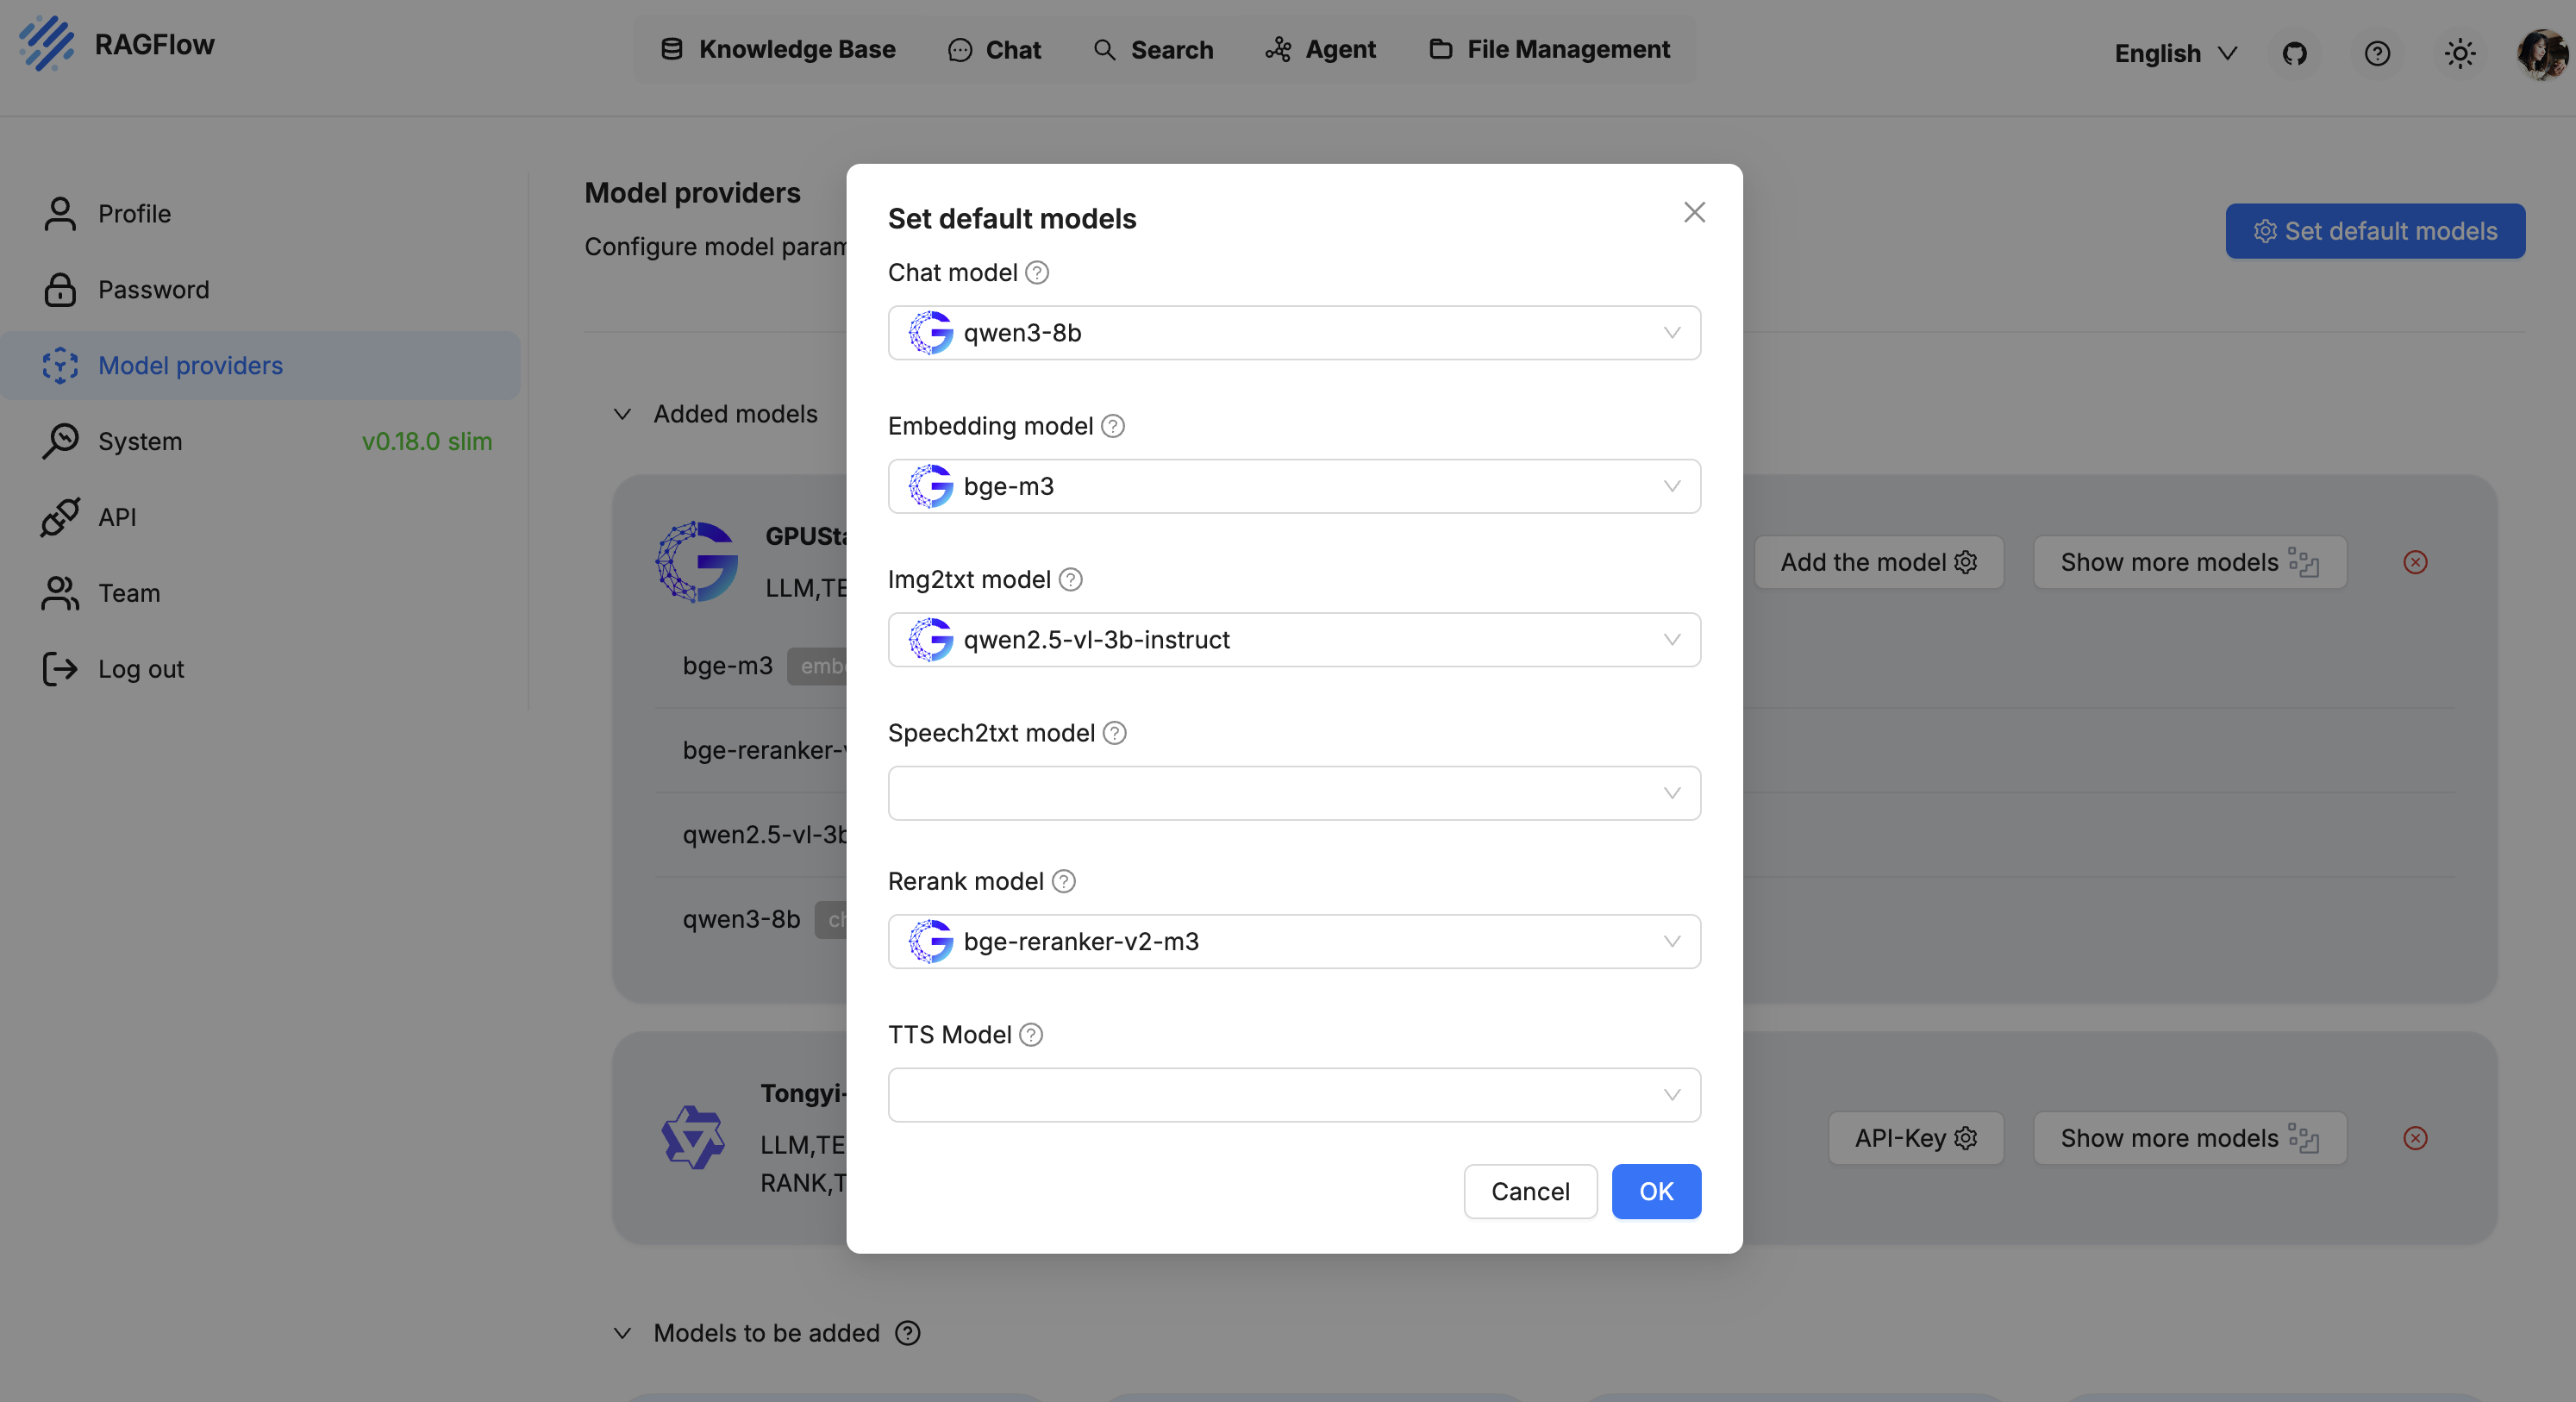
Using the Models
You can now use the models in Dataset and Chat. Here is a simple case:
-
Go to
Datasetand create a dataset. The default embedding model is already selected: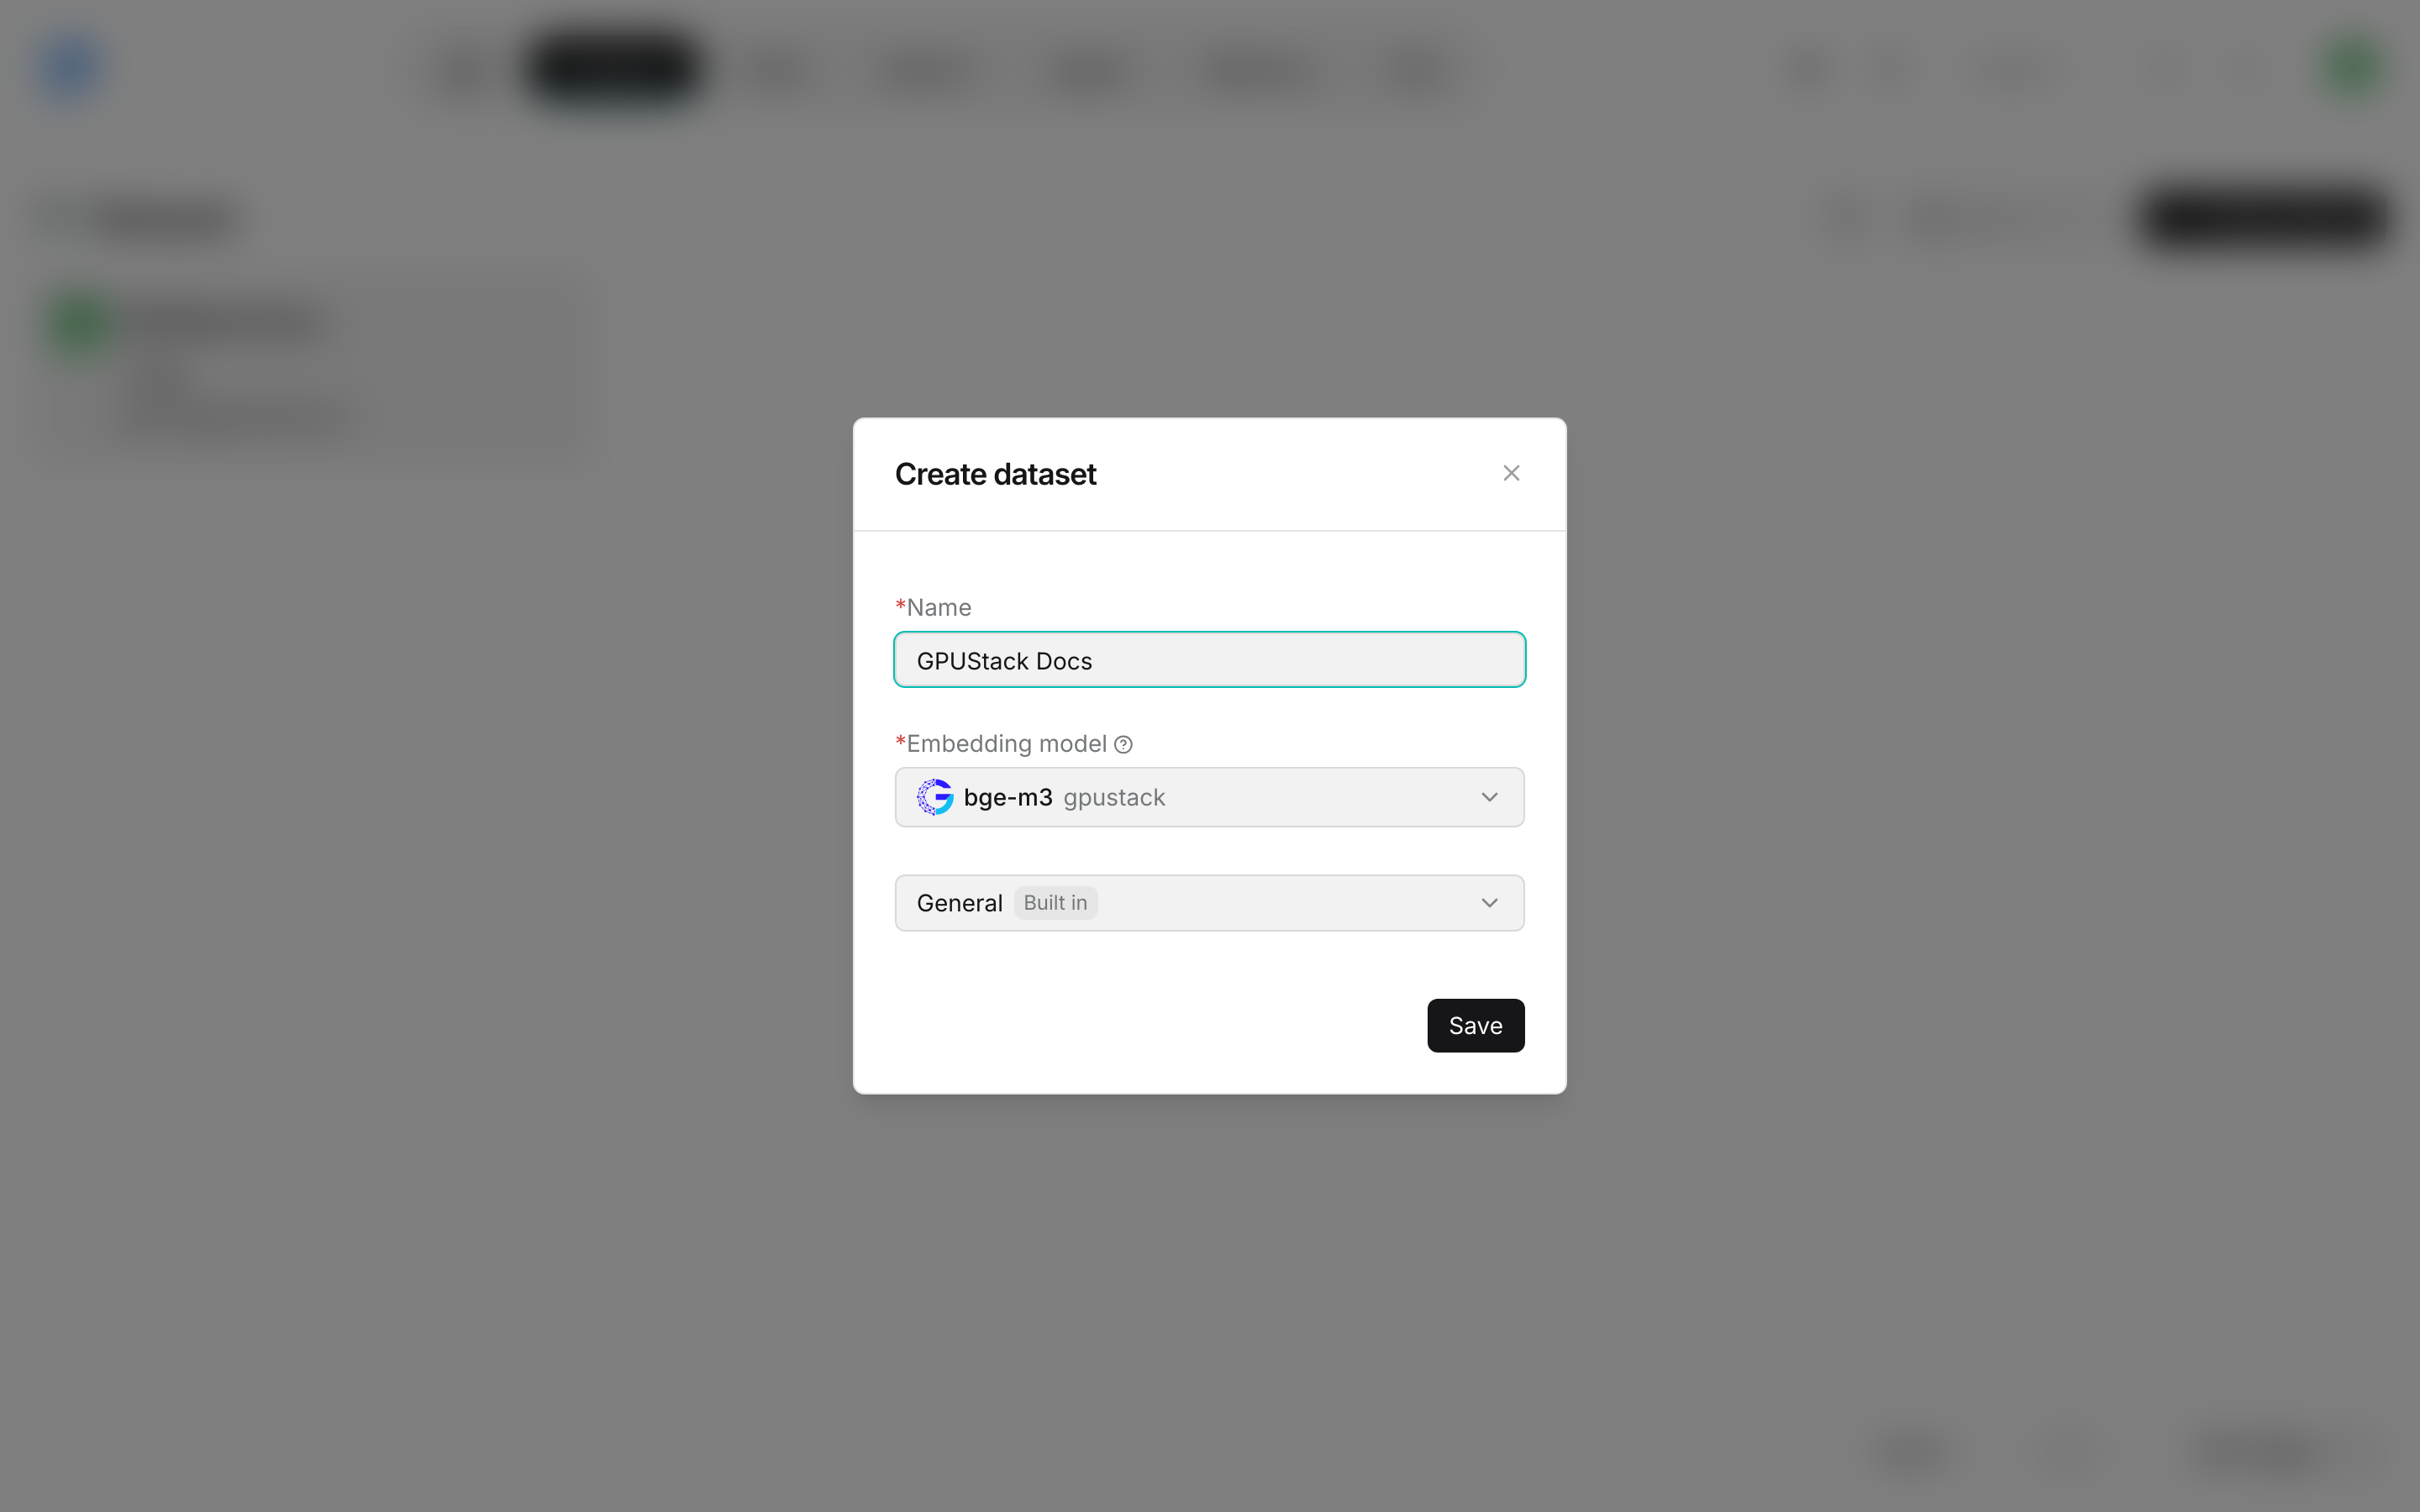
-
Click
Add file>Upload file, turn onParse on creation, select your file and clickSave. When parsing finishes, the file shows its number of chunks: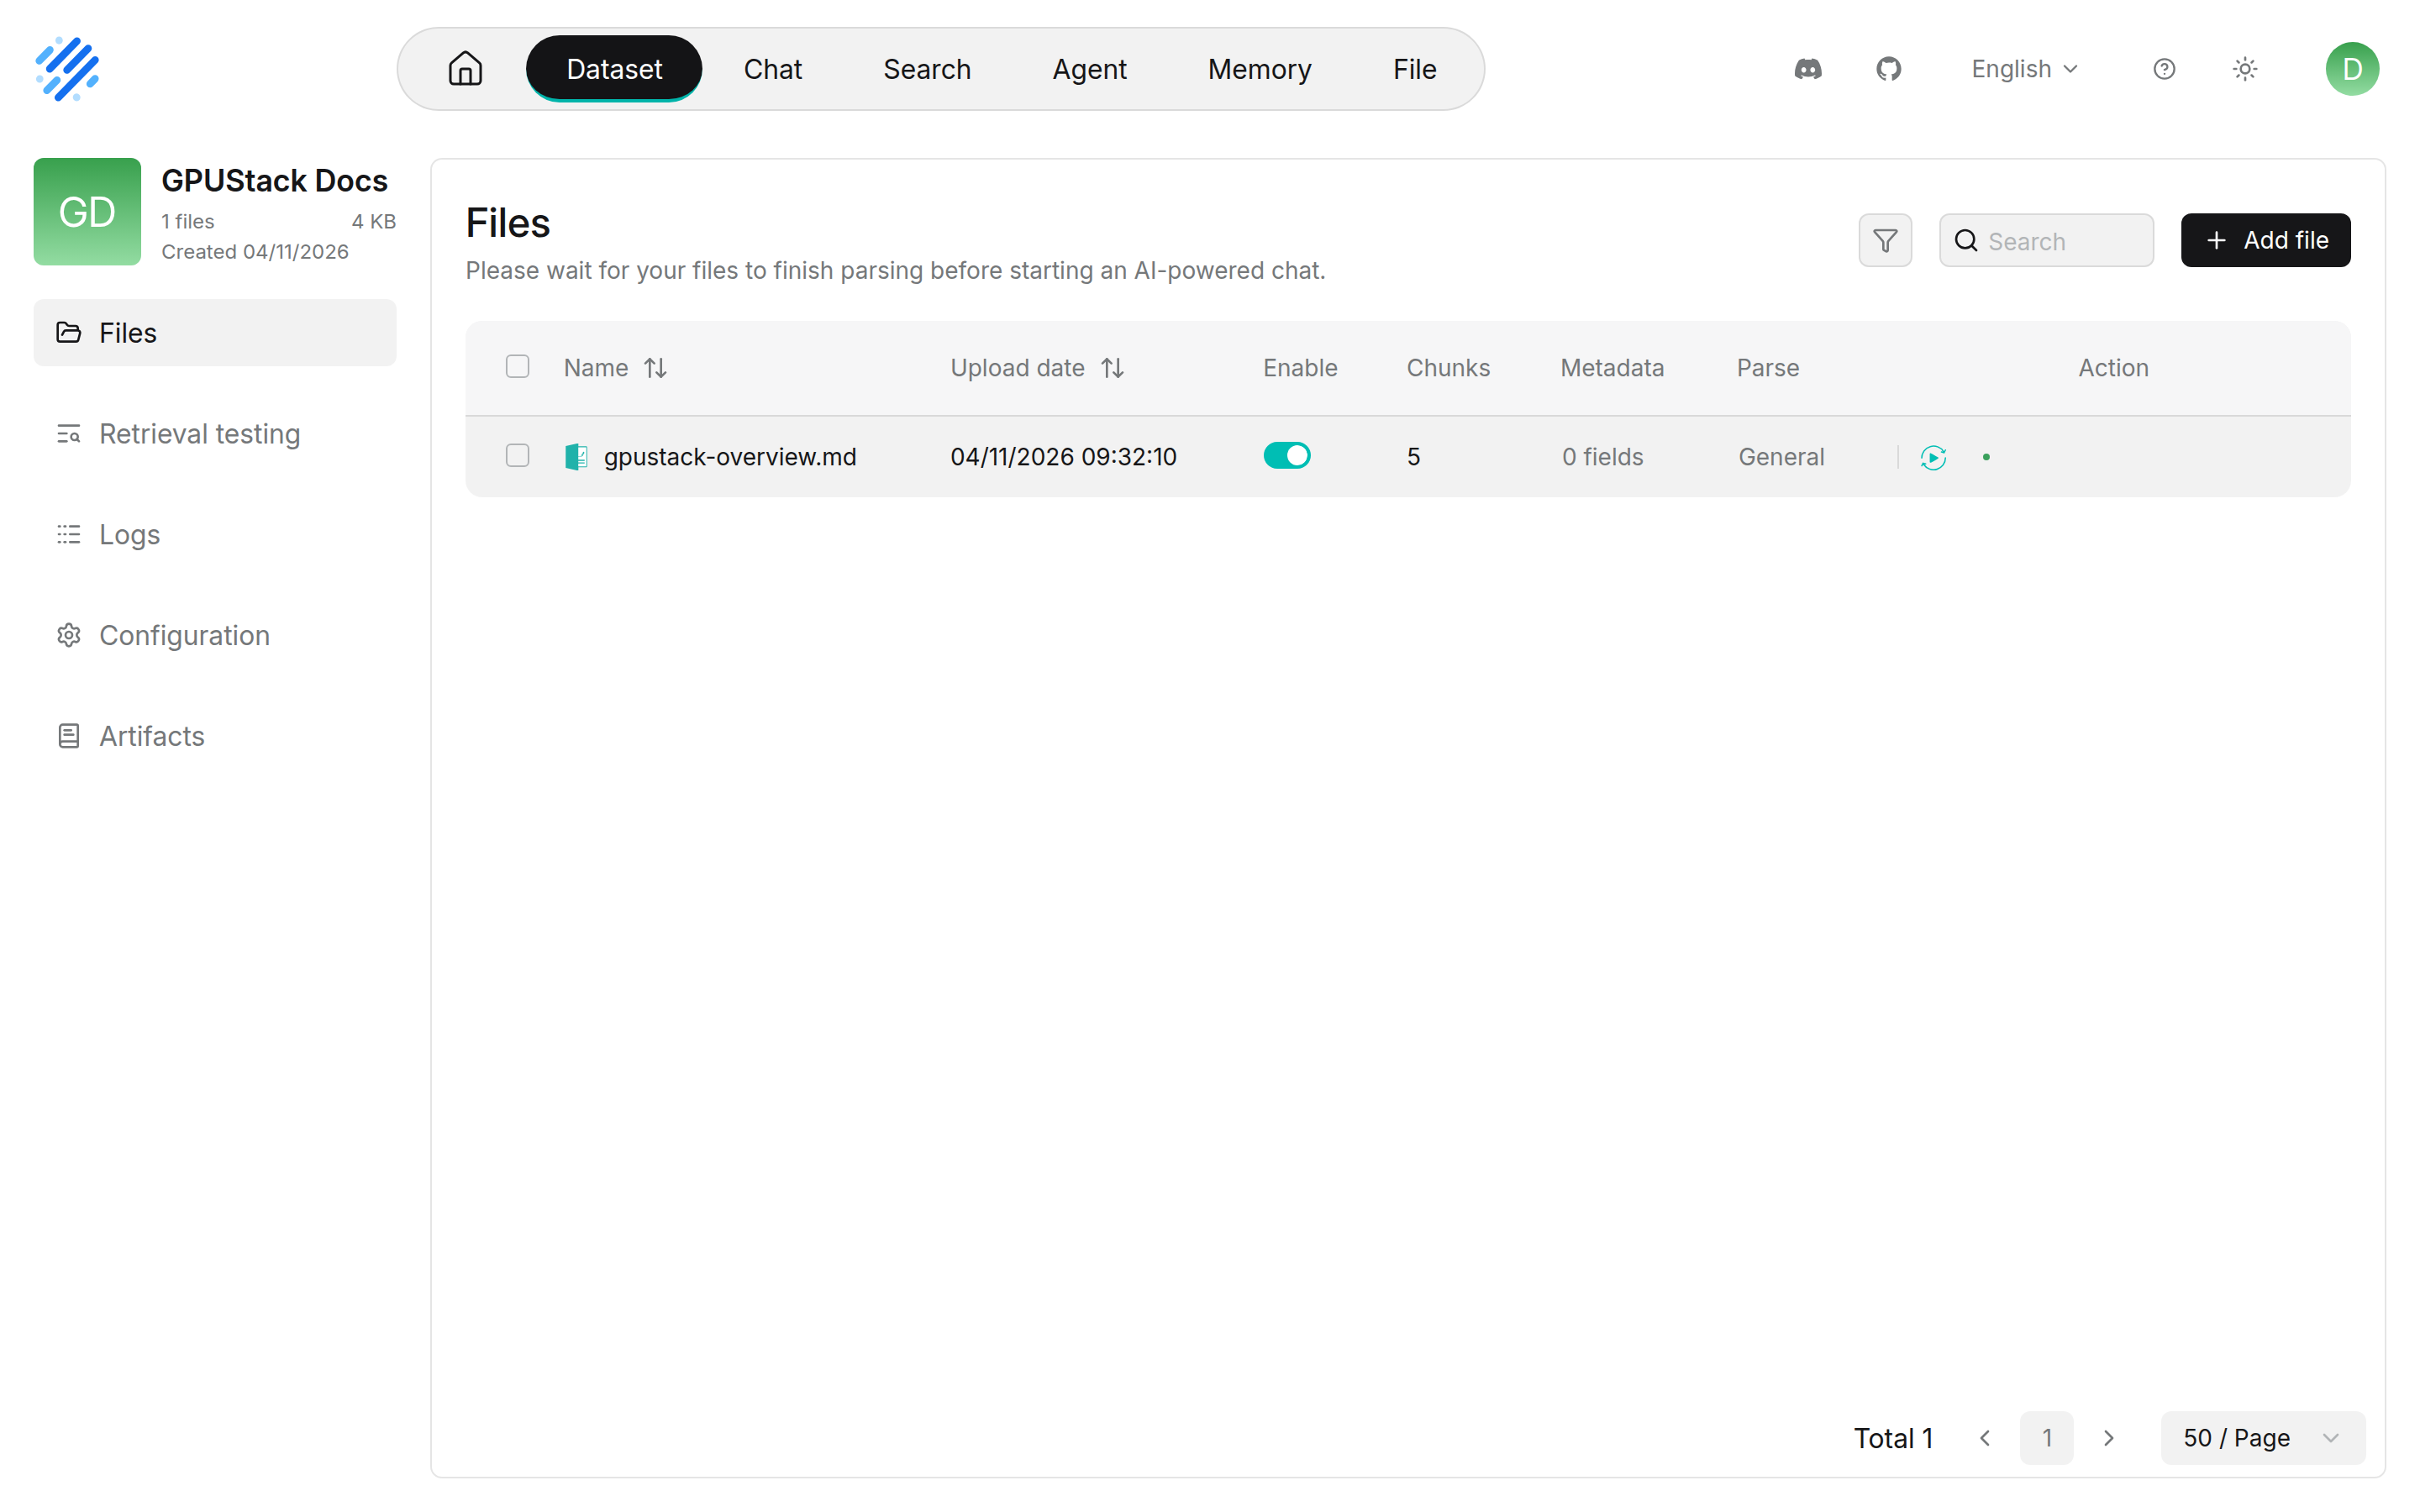
-
Navigate to
Retrieval testing, setRerank modeltobge-reranker-v2-m3, enter a question and clickRun: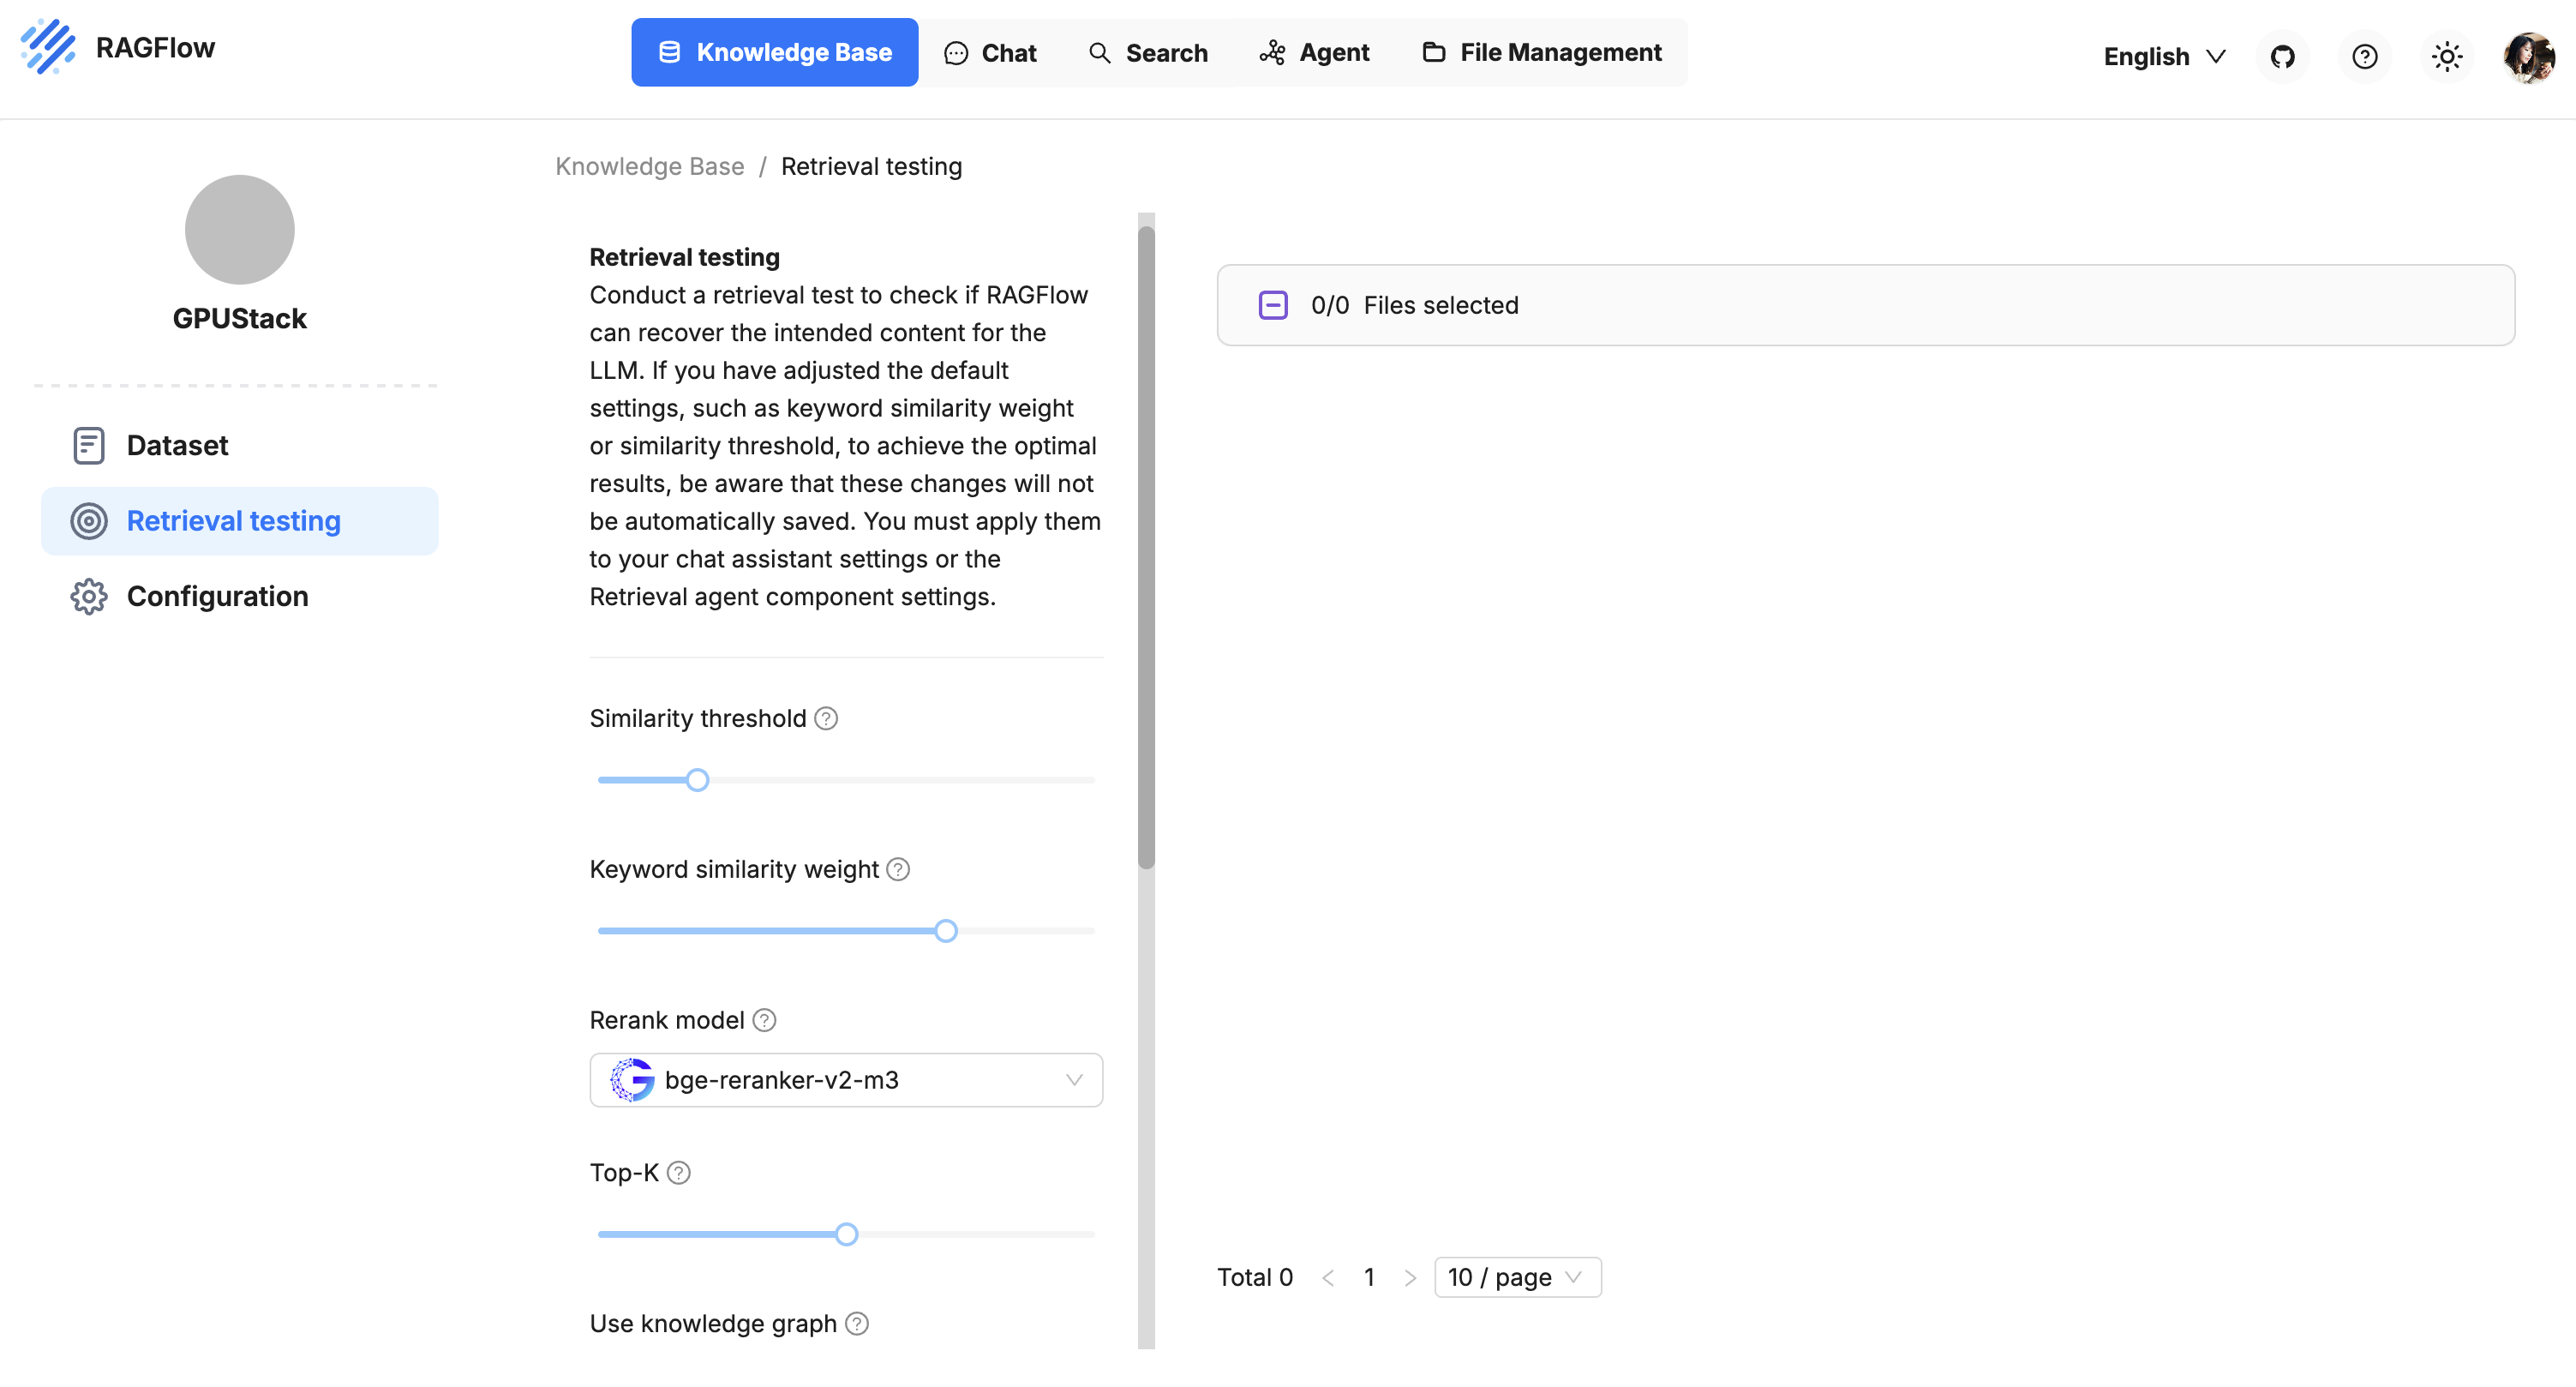
-
In
Chat, create a chat and open it. Click the settings icon in the top right corner, select the dataset underDatasets, check the chat model underModel, and clickSave: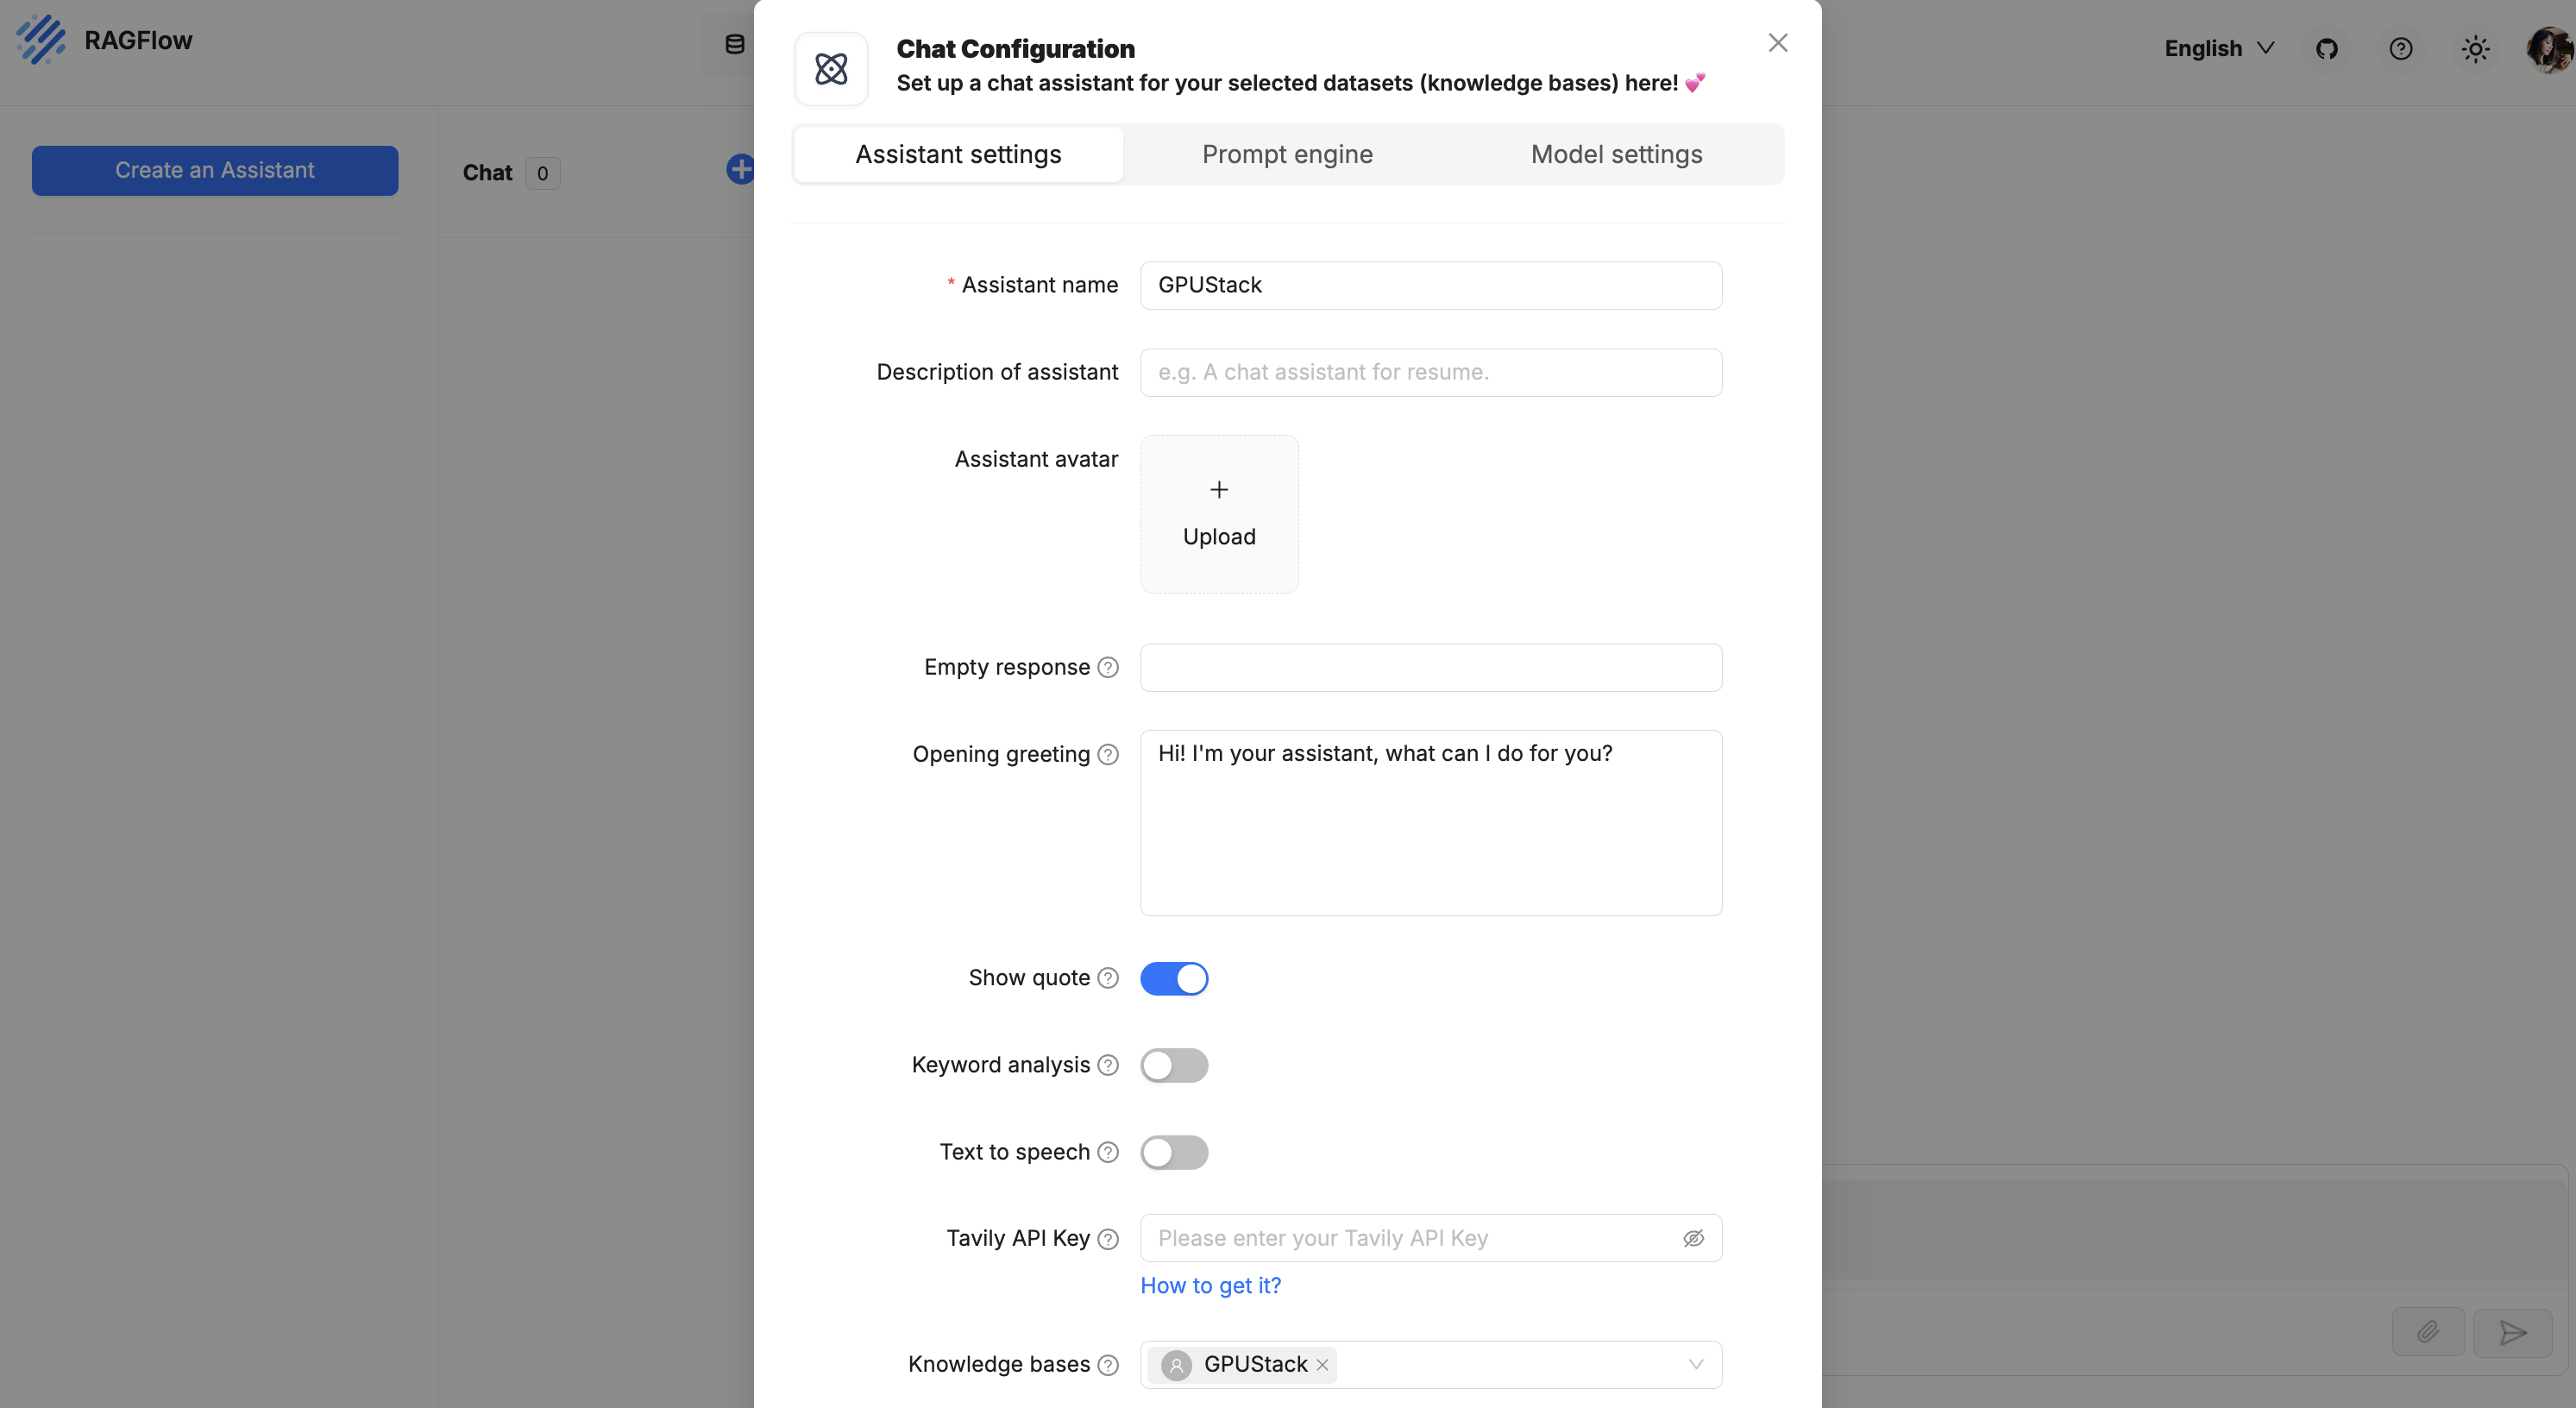
The rerank model chosen in
Retrieval testingdoes not apply to chats. To rerank a chat's retrieval, expandAdvanced settings>Naivein the same settings, setRerank modeltobge-reranker-v2-m3and clickSave. -
Send a message. You can now interact with the model and query the dataset:
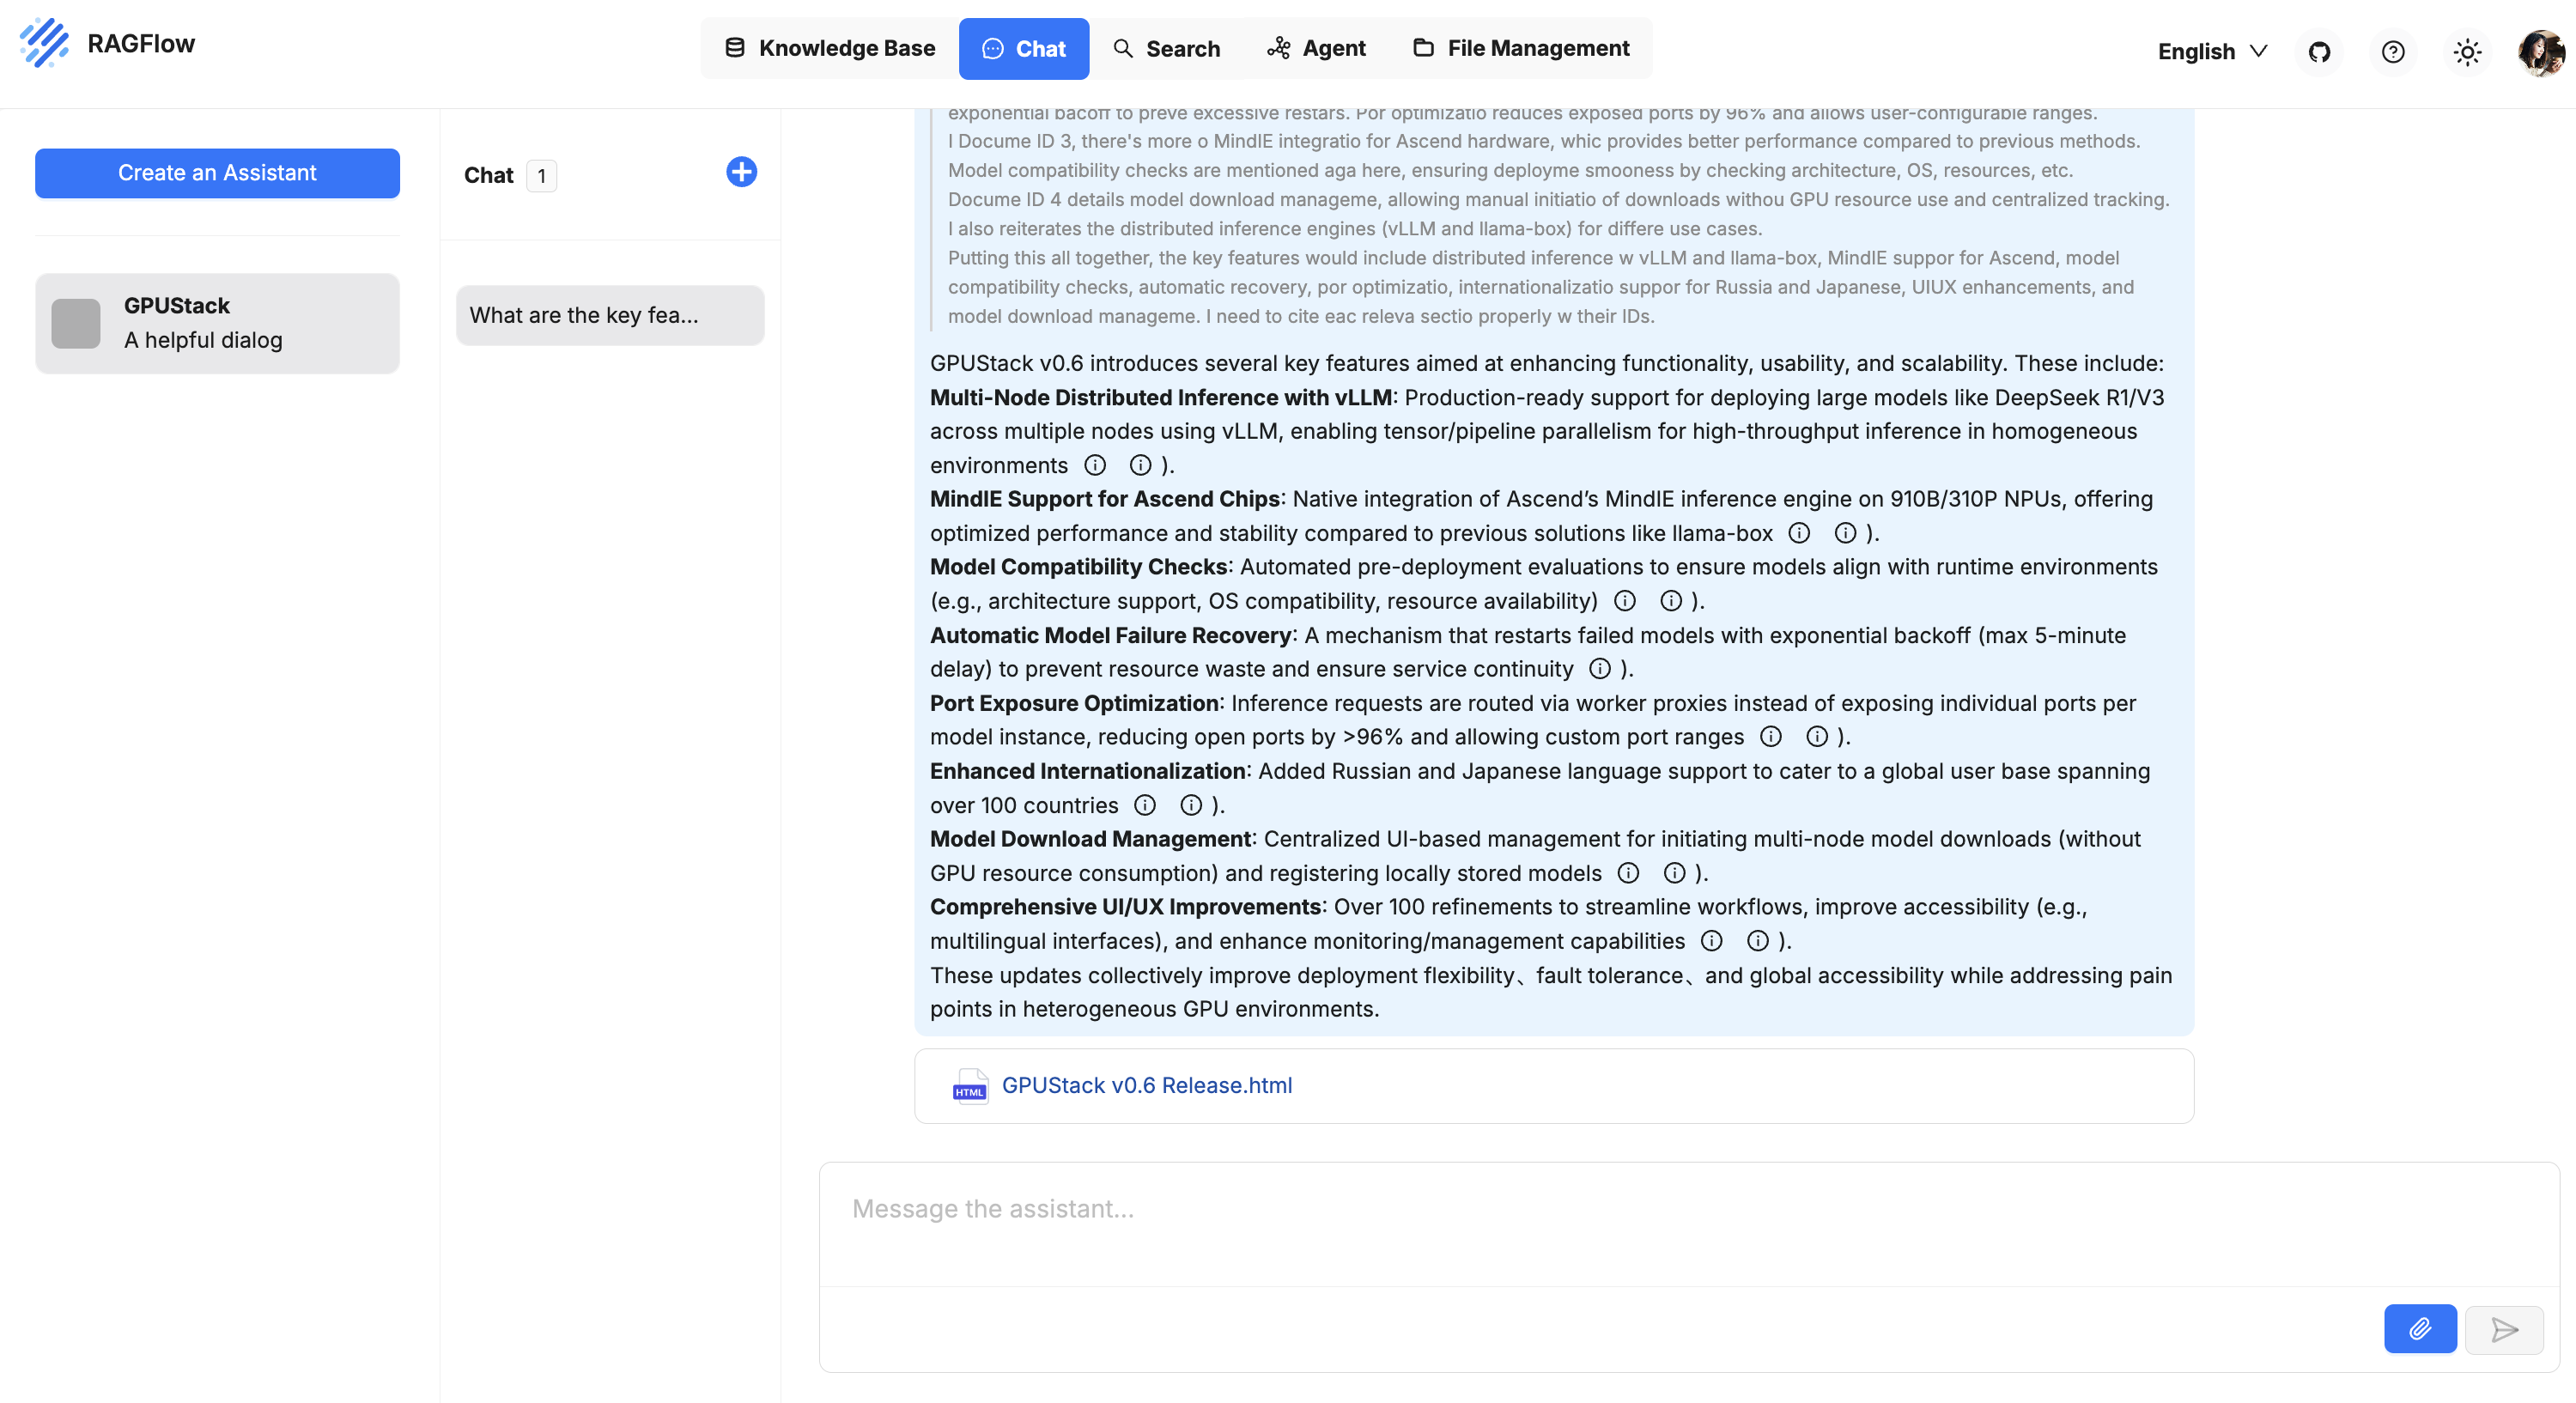
-
To have answers read aloud, turn on
Text to speechunderAdvanced settingsand clickSave. Hover over an answer and click the speaker icon, which becomes a pause icon while the audio plays: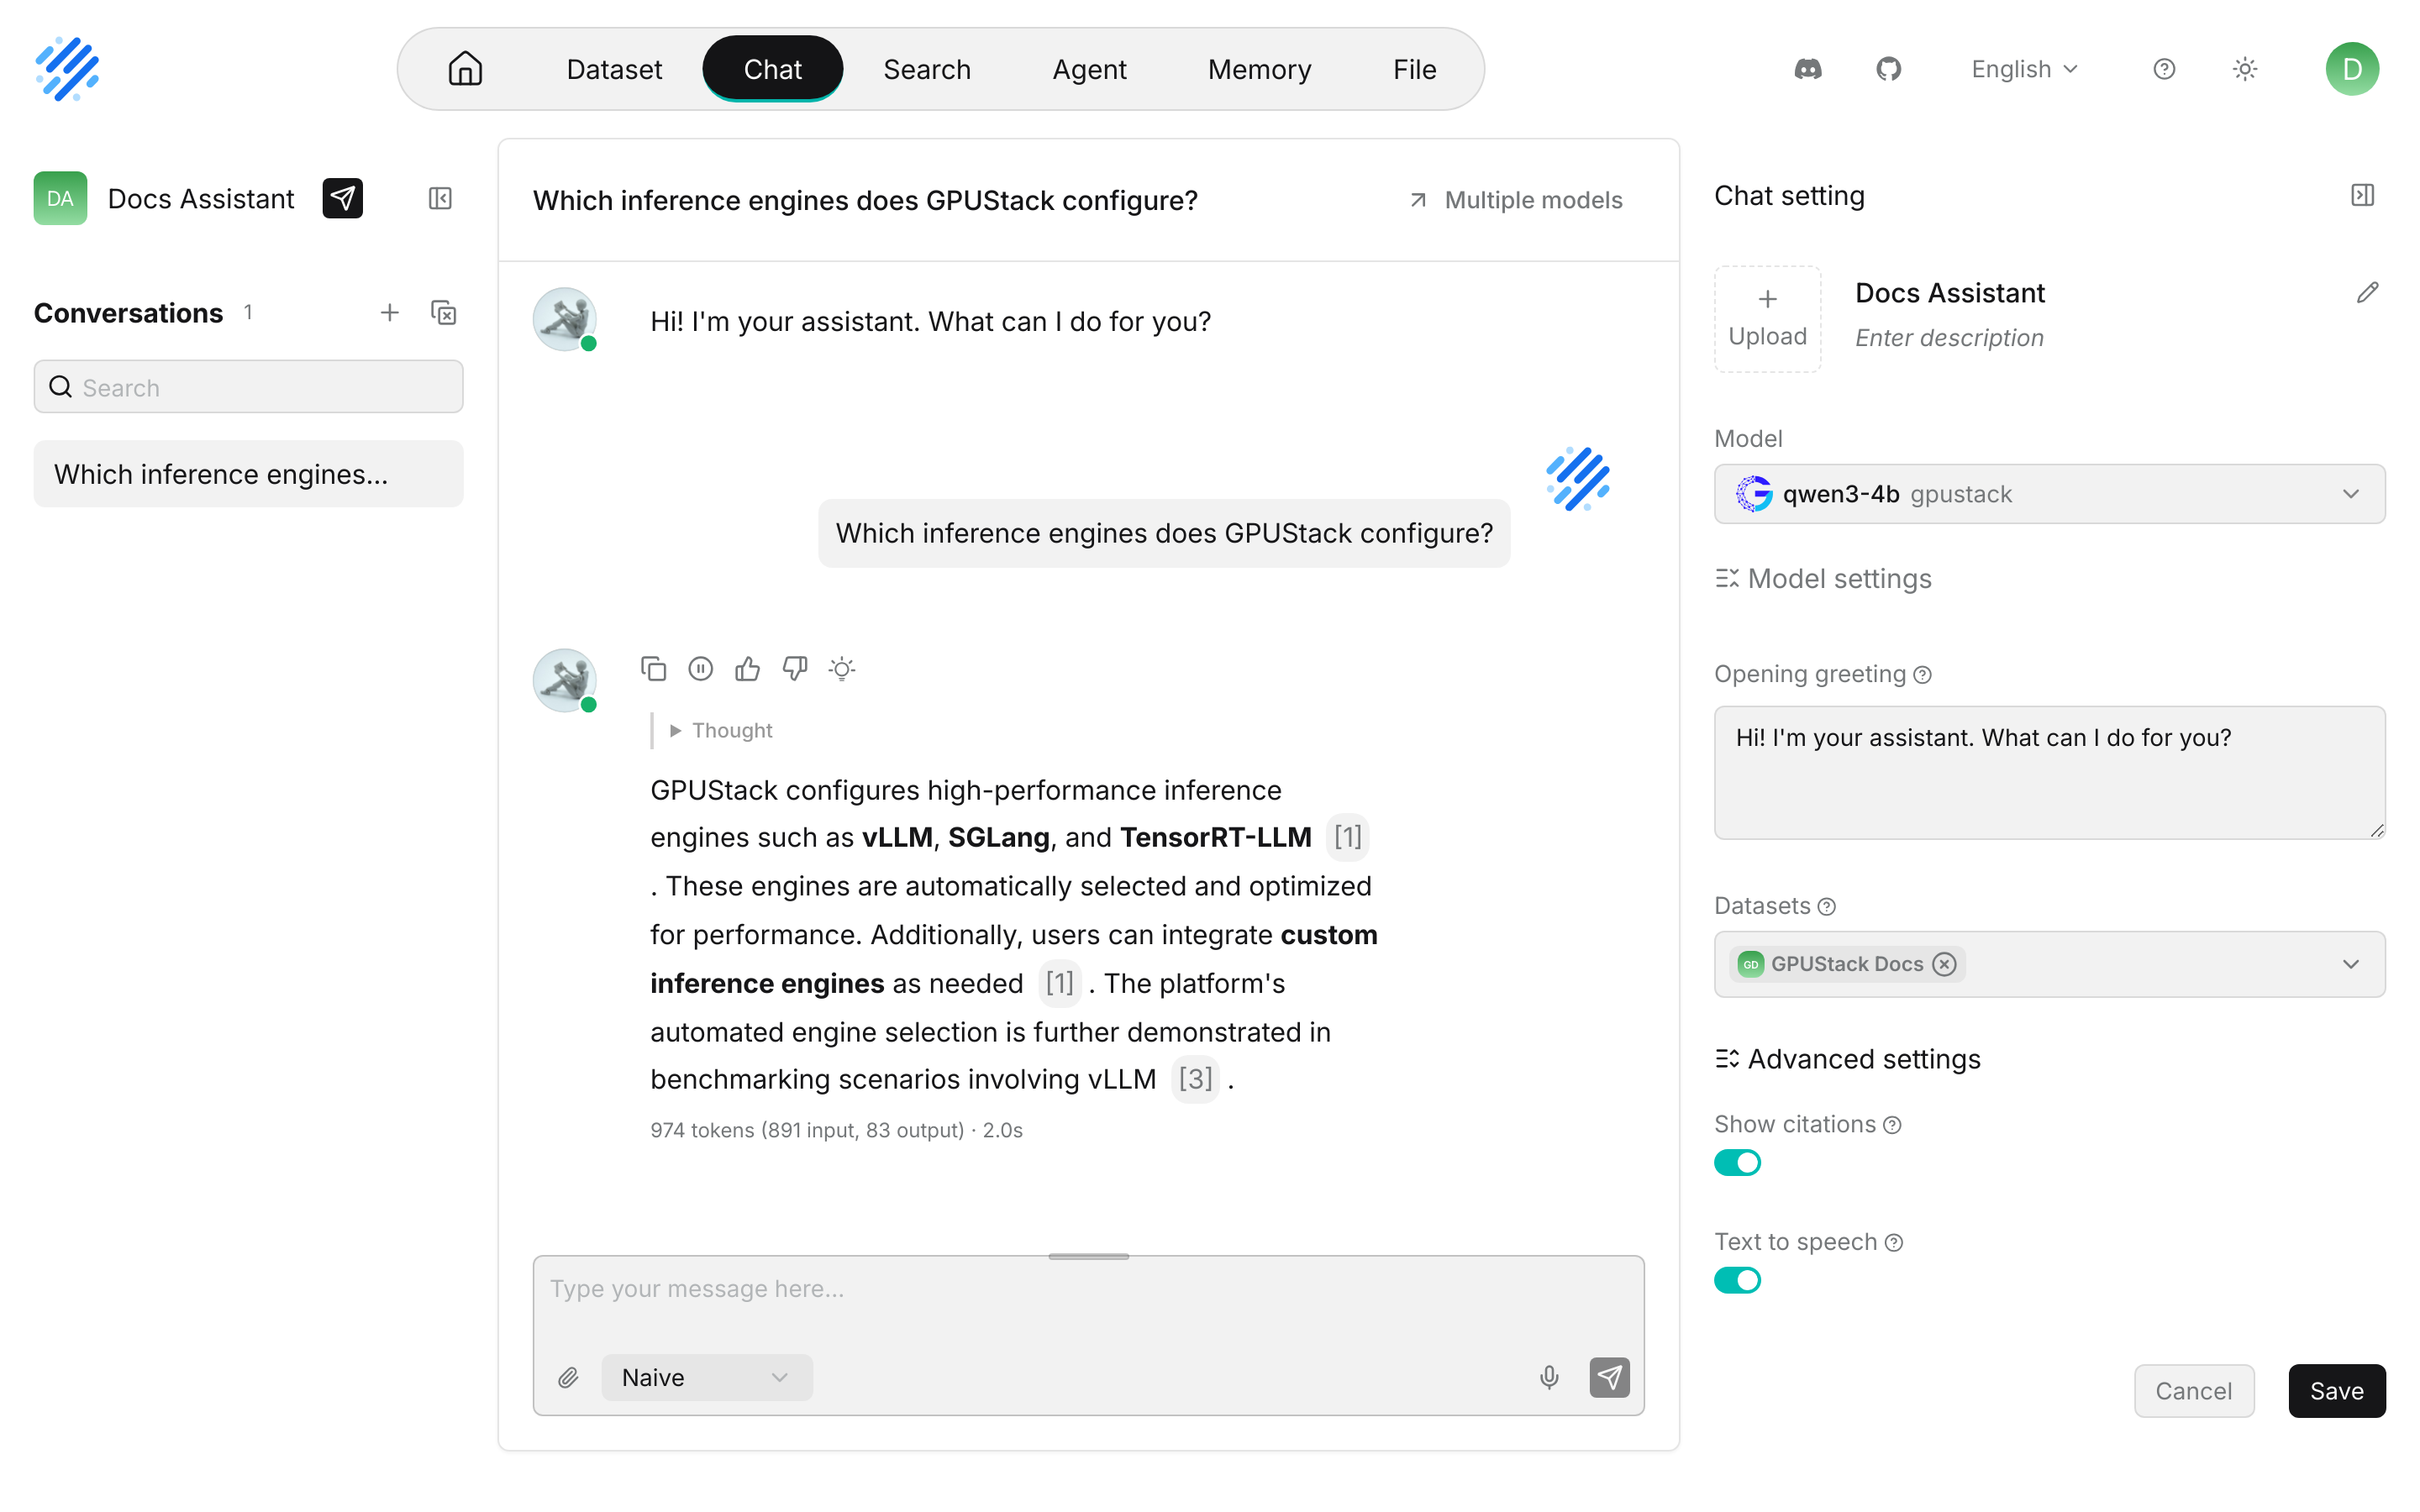
-
To use voice input, click the microphone icon in the message box, speak, and click the icon again to stop. RAGFlow transcribes the recording with the default Speech to text model and sends it as your message.
-
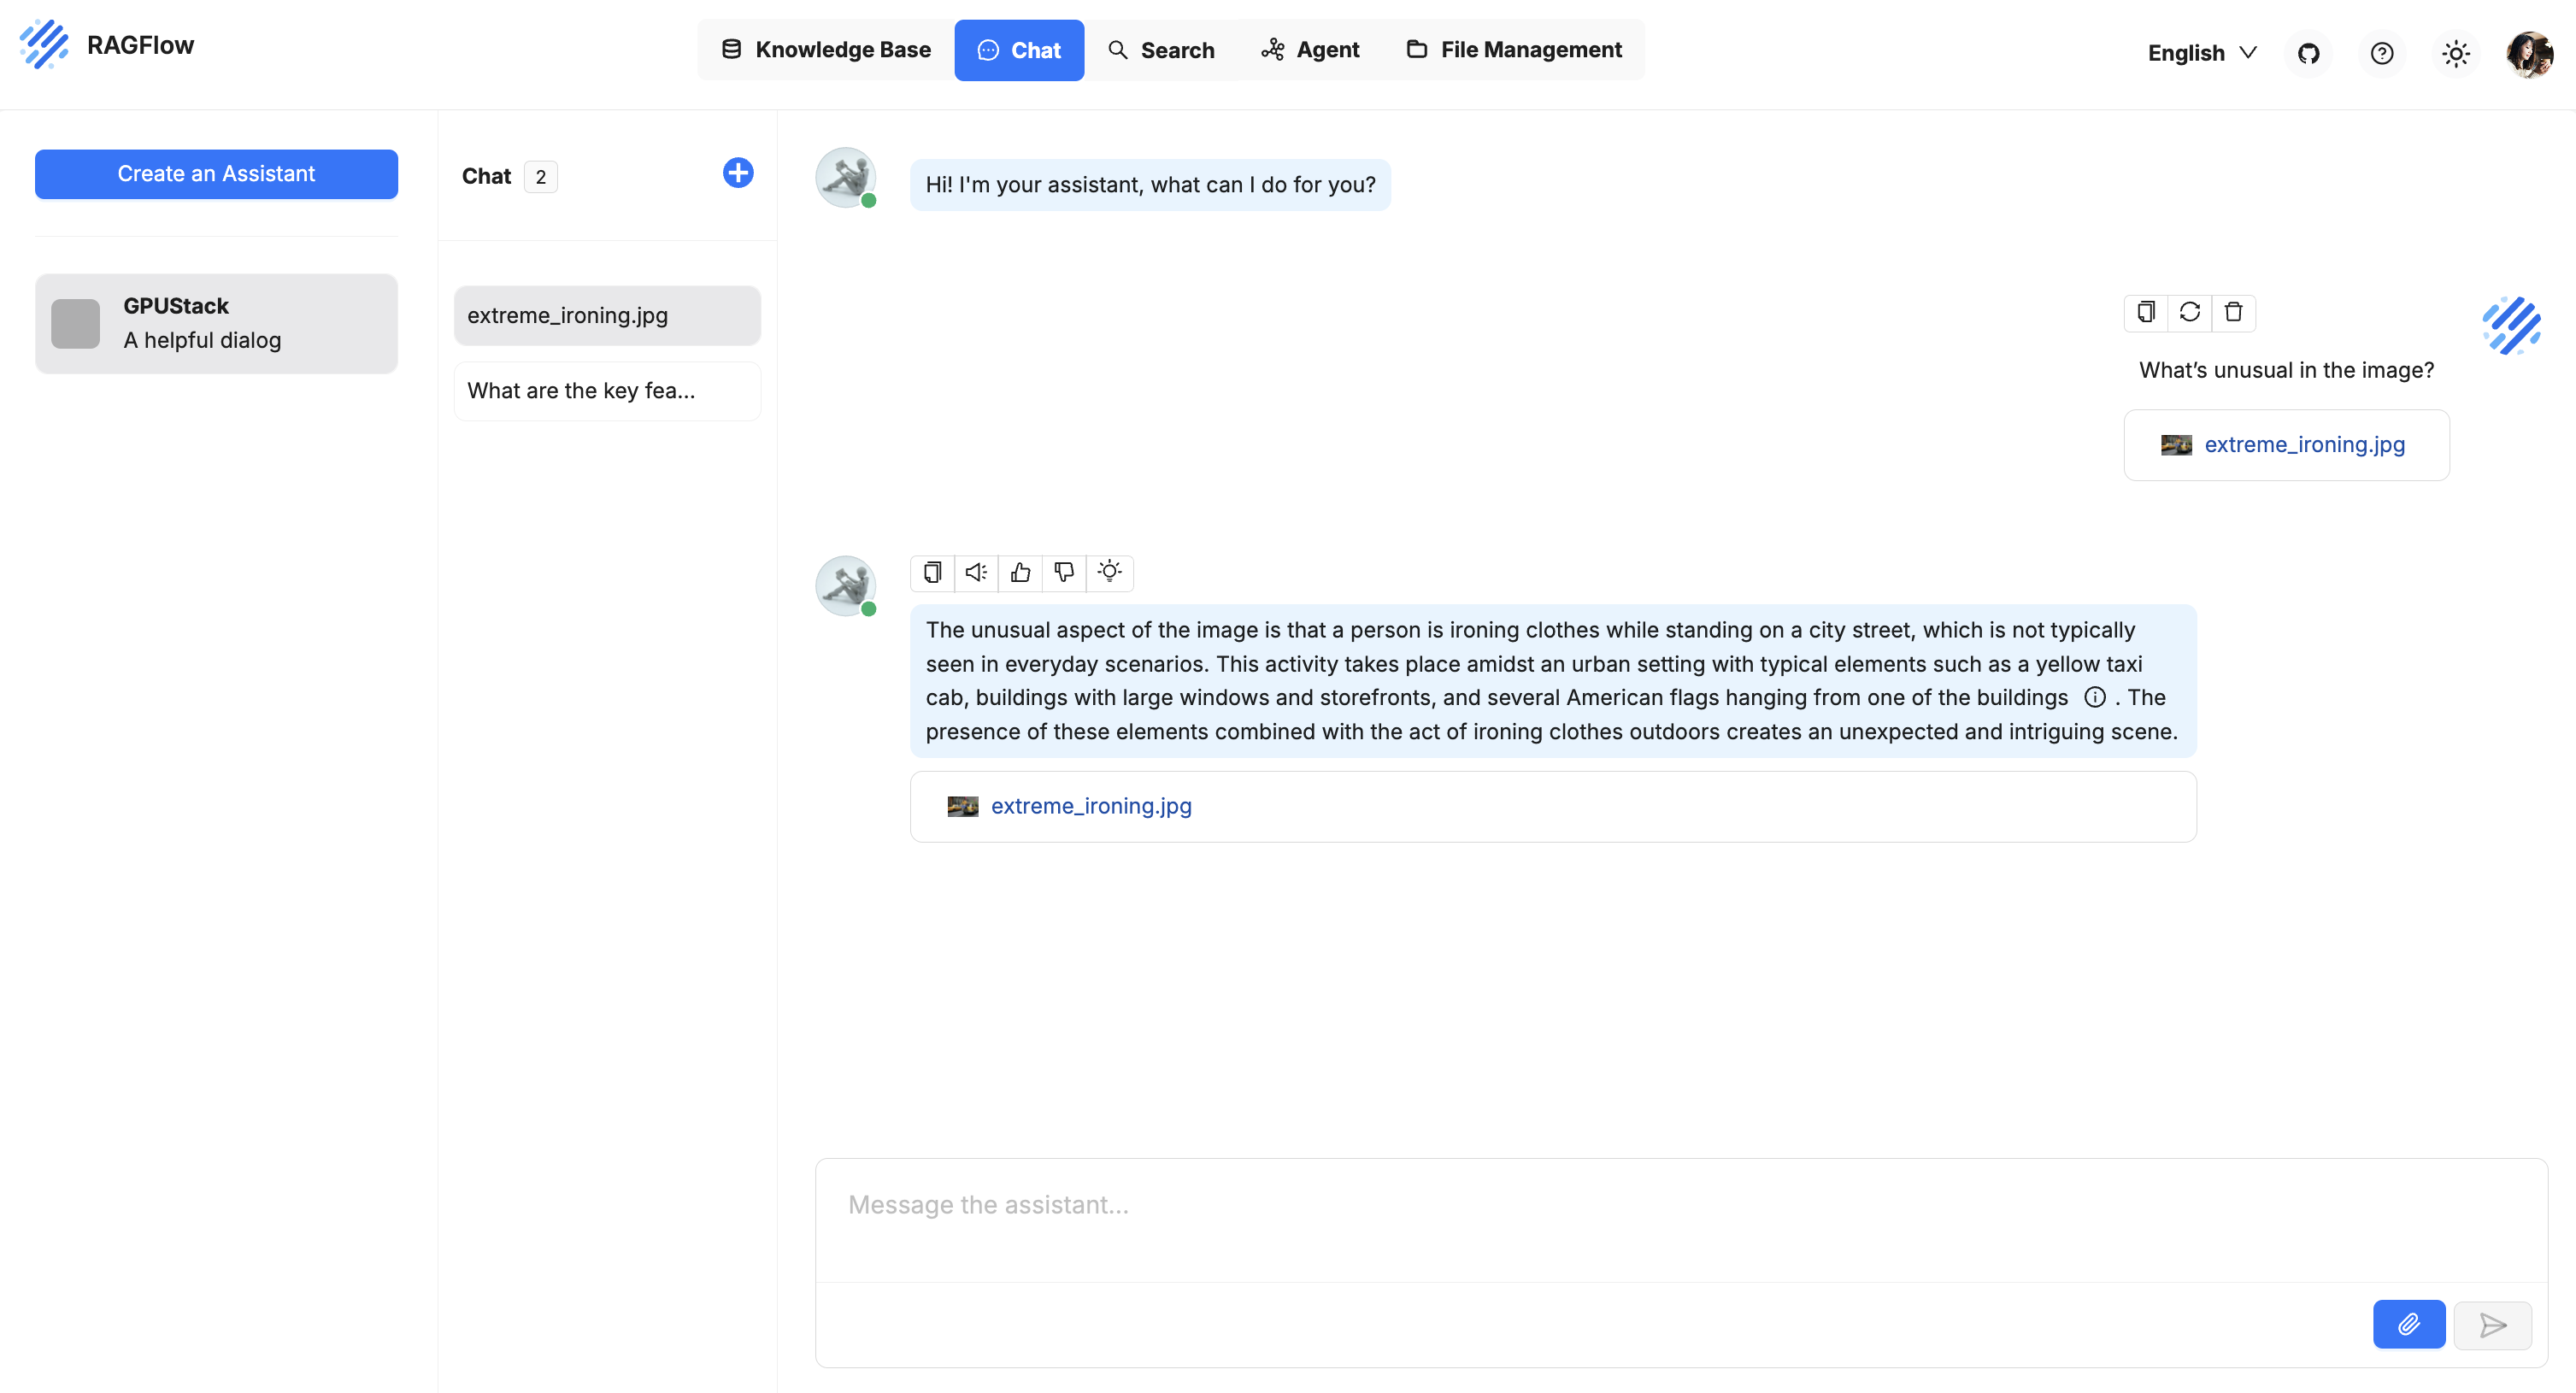
To chat about an image, switch
Modeltoqwen2.5-vl-3b-instructin the chat settings and clearDatasets, so that answers are not mixed with citations from unrelated documents. ClickSave, start a new conversation, attach an image with the paperclip icon and send your question: